« 7.1: User Interfaces |
7.3: Keyboard Interaction »
Mouse Interaction
Processing provides five system variables for retrieving mouse attributes. These are:
mouseX,
mouseY,
pmouseX,
pmouseY,
mousePressed, and
mouseButton.
We’ll combine them all in one playful sketch.
Create a new file and save it as “mouse_toy”. Add the following setup code:
def setup():
    size(600,600)
    background('#004477')
    frameRate(20)

def draw():
    print('x:%s, y:%s' % (mouseX, mouseY))
    fill('#FFFFFF')
    ellipse(mouseX,mouseY, 20,20)
Run the sketch and move your mouse pointer about the display window. The print function uses the mouseX and mouseY system variables to print the x/y-coordinates to the Console. These same values govern the x/y position of each ellipse (circle) drawn.
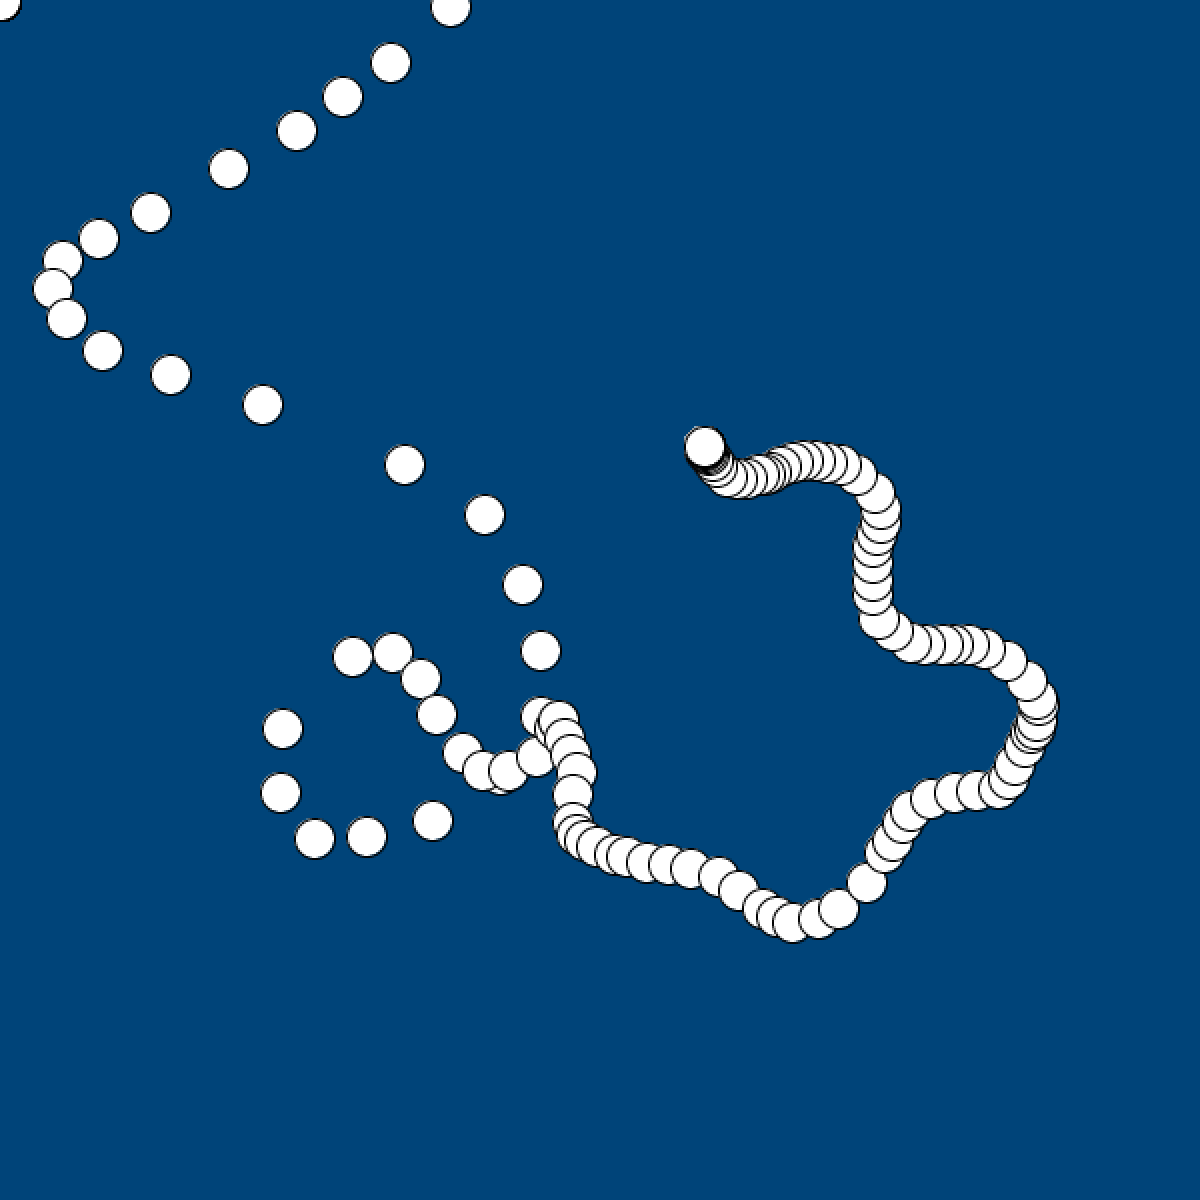
The frameRate is relatively slow (20 fps), so rapid mouse movement results in circles distributed at larger intervals. There will always be a circle in the top-left corner because the pointer is assumed to be at (0,0) until the mouse moves into the display window.
The pmouseX and pmouseY system variables hold the pointer’s x/y position from the previous frame. In other words, if the mouseX is equal to the mouseY you know that the mouse hasn’t moved since the last frame. As per the code below: add the two new global variables (rainbow and sw), comment out the previous draw lines, and add the four new lines at the bottom of the draw.
...
rainbow = [
'#FF0000', '#FF9900', '#FFFF00',
'#00FF00', '#0099FF', '#6633FF'
]
sw = 7
def draw():
#print('x:%s, y:%s' % (mouseX, mouseY))
#fill('#FFFFFF')
#ellipse(mouseX,mouseY, 20,20)
global sw
stroke( rainbow[frameCount % len(rainbow)] )
strokeWeight(sw)
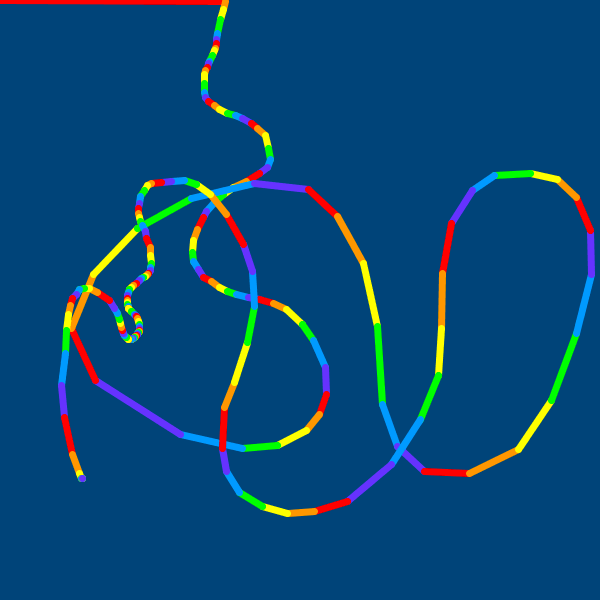
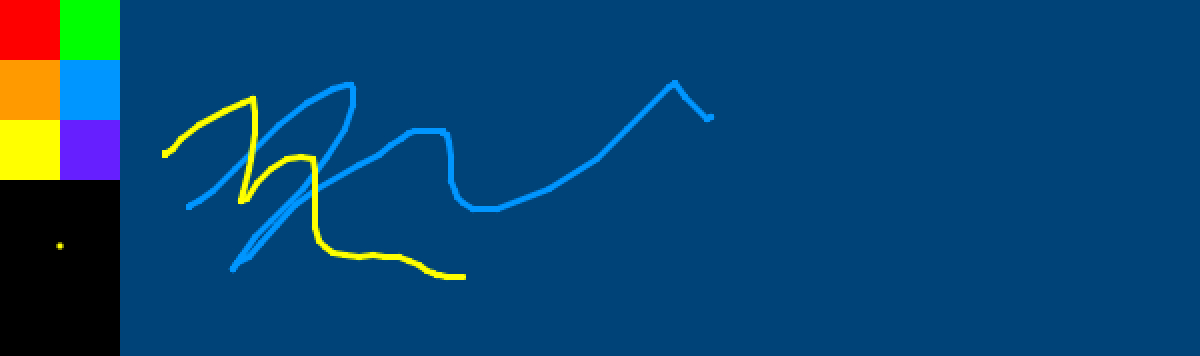
line(mouseX,mouseY, pmouseX,pmouseY)The stroke() line rotates the stroke colour each new frame. The line() function draws a line between the current and previous frame’s mouse coordinates. Recall that rapid mouse movement increases the distance between the x/y coordinates captured in successive frames. Run the sketch. As you move your mouse about a multicoloured line traces your path; you can gauge the speed of mouse movement by the length of each alternating band of rainbow colour.
Currently, you’ve no means of controlling the flow of colour. To turn the brush on and off, we’ll add some code that activates it only while the mouse’s left-click button is held down.
While any mouse button is held down, the mousePressed system variable is equal to True. The mouseButton variable can be used to determine which button that’s – either LEFT, RIGHT, or CENTER. However, the mousePressed variable reverts to False once you’ve released, but mouseButton retains its value until another is clicked. For this reason, it’s best to use these two variables in combination with one another. Insert the following if statement to control when the line function is active.
    ...
    strokeWeight(sw)

    if mousePressed and mouseButton == LEFT:
        line(mouseX,mouseY, pmouseX,pmouseY)
Run the sketch to test how the left mouse button works.
Now restructure the if statement to accommodate a centre-click that sets the stroke-weight to 3, and a right-click that incrementally increases the stroke thickness.
    ...
    strokeWeight(sw)

    if mousePressed:
        if mouseButton == LEFT:
            line(mouseX,mouseY, pmouseX,pmouseY)
        if mouseButton == CENTER:
            sw = 3
        if mouseButton == RIGHT:
            sw += 1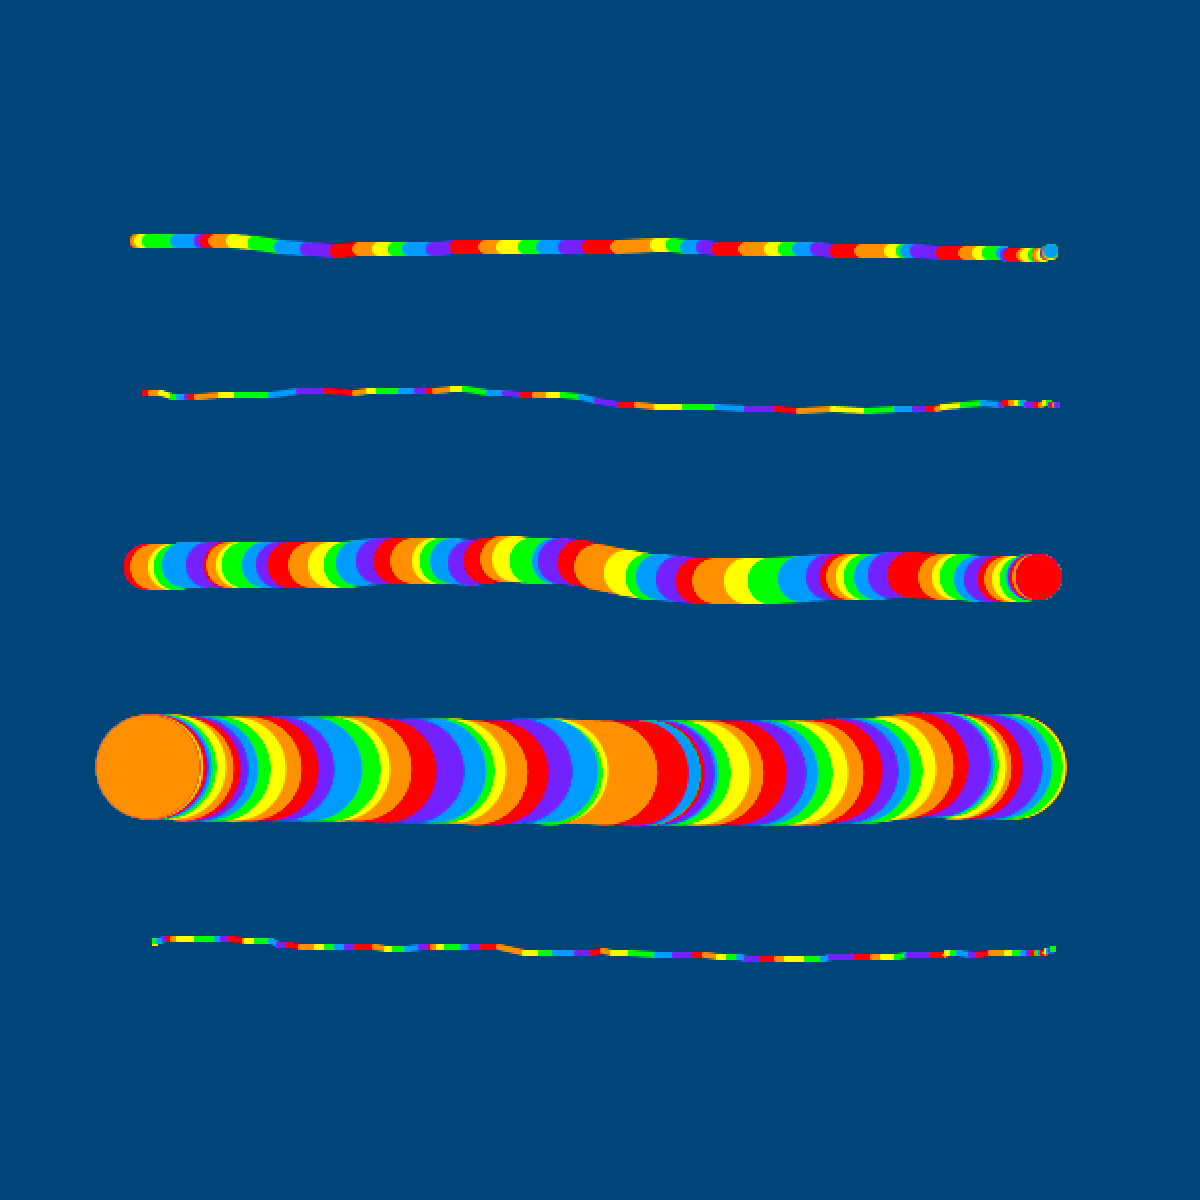
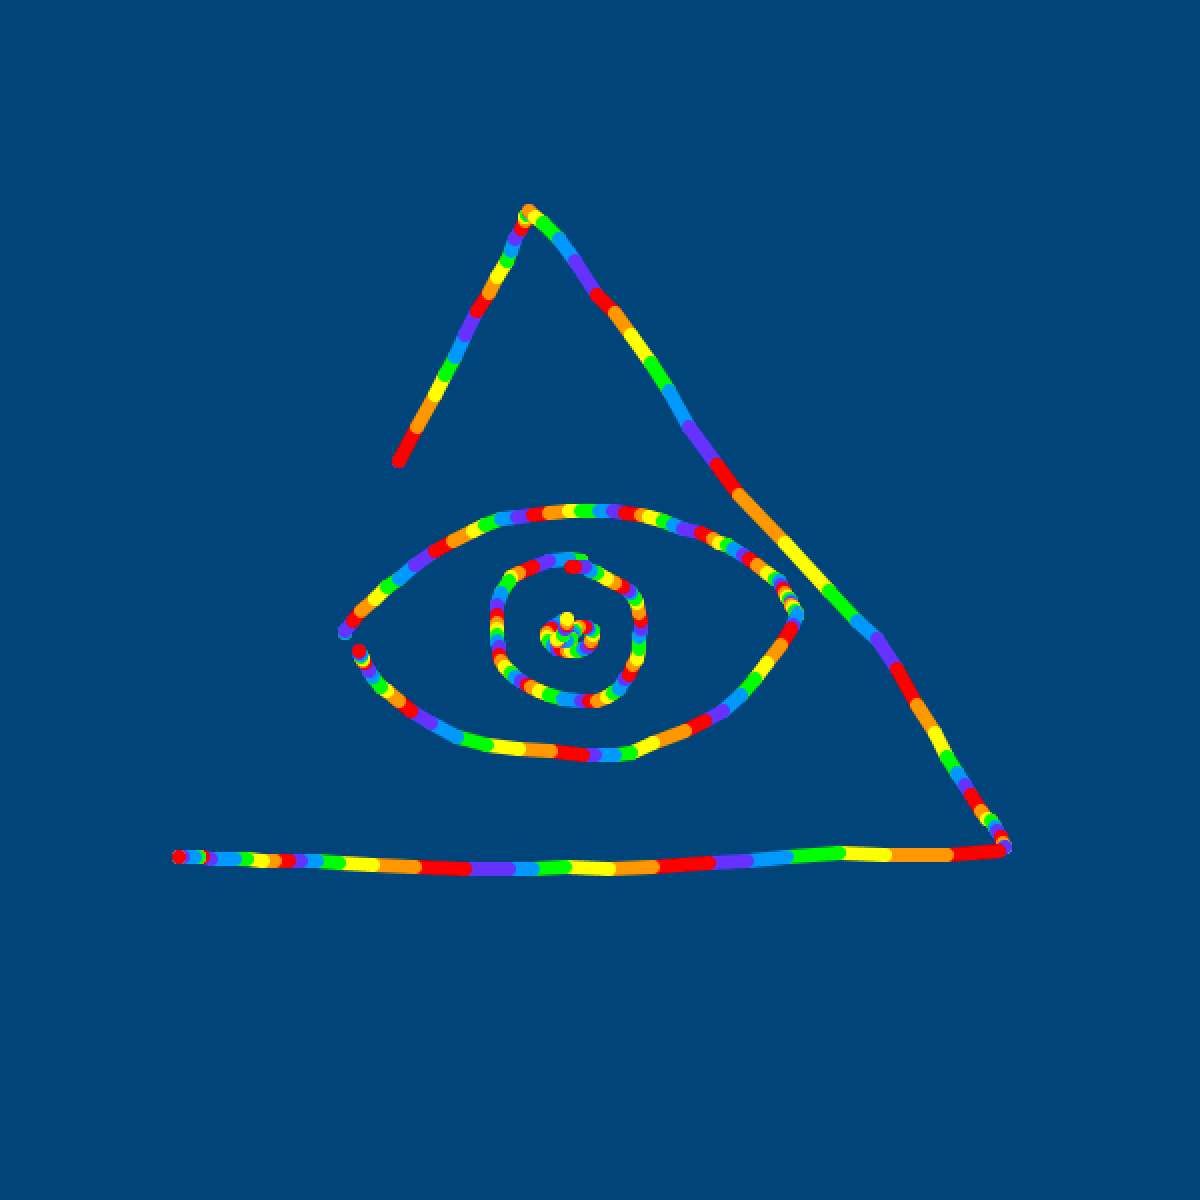
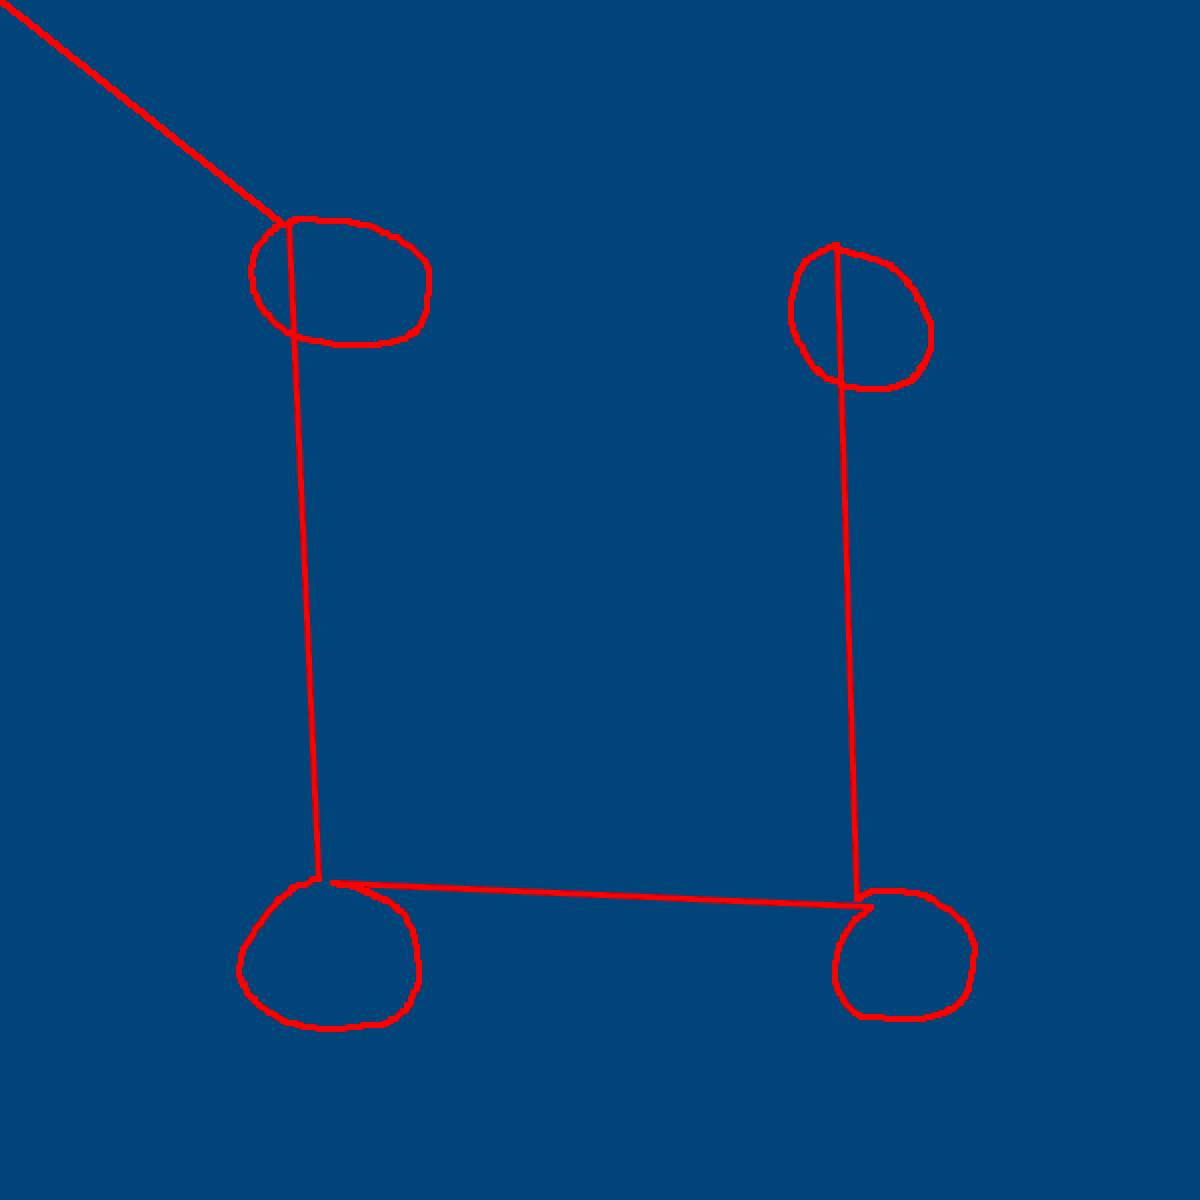
Can you figure out if I drew these lines left-to-right or right-to-left? 🤔
The lines need not persist. Play around to see what interesting effects you can create. As an example, I have added this code to the draw function.
# variable background colours
colorMode(HSB, 360,100,100,100)
h = float(mouseX)/width*360
s = float(mouseY)/height*100
b = 100
a = 15
fill(h,s,b,a)
rect(-50,-50, width+100,height+100)
# rectangles
noCursor()
rectMode(CORNERS)
fill( rainbow[frameCount % len(rainbow)] )
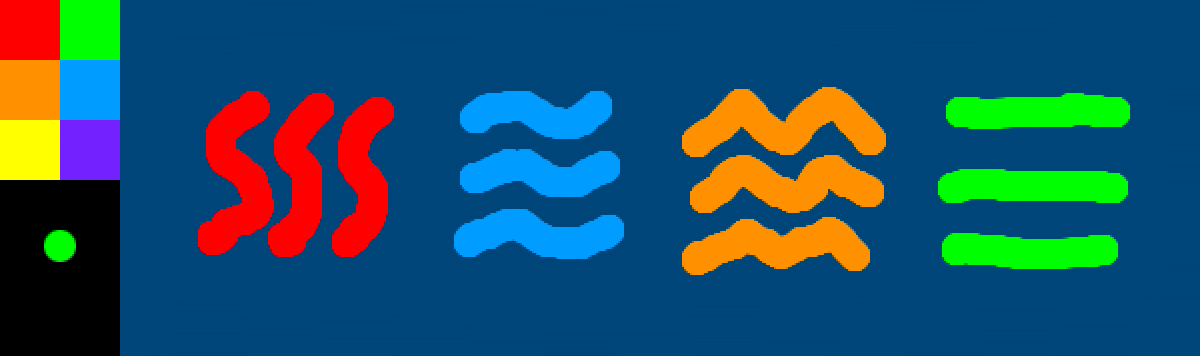
rect( mouseX,mouseY, pmouseX,pmouseY )The background now changes colour as you move towards different corners; the x mouse position shifts the hues while the y position adjusts the saturation. Colourful rectangles appear as you move the mouse about then fade progressively as the frames advance. The noCursor() function hides the mouse pointer while it’s over the display window.
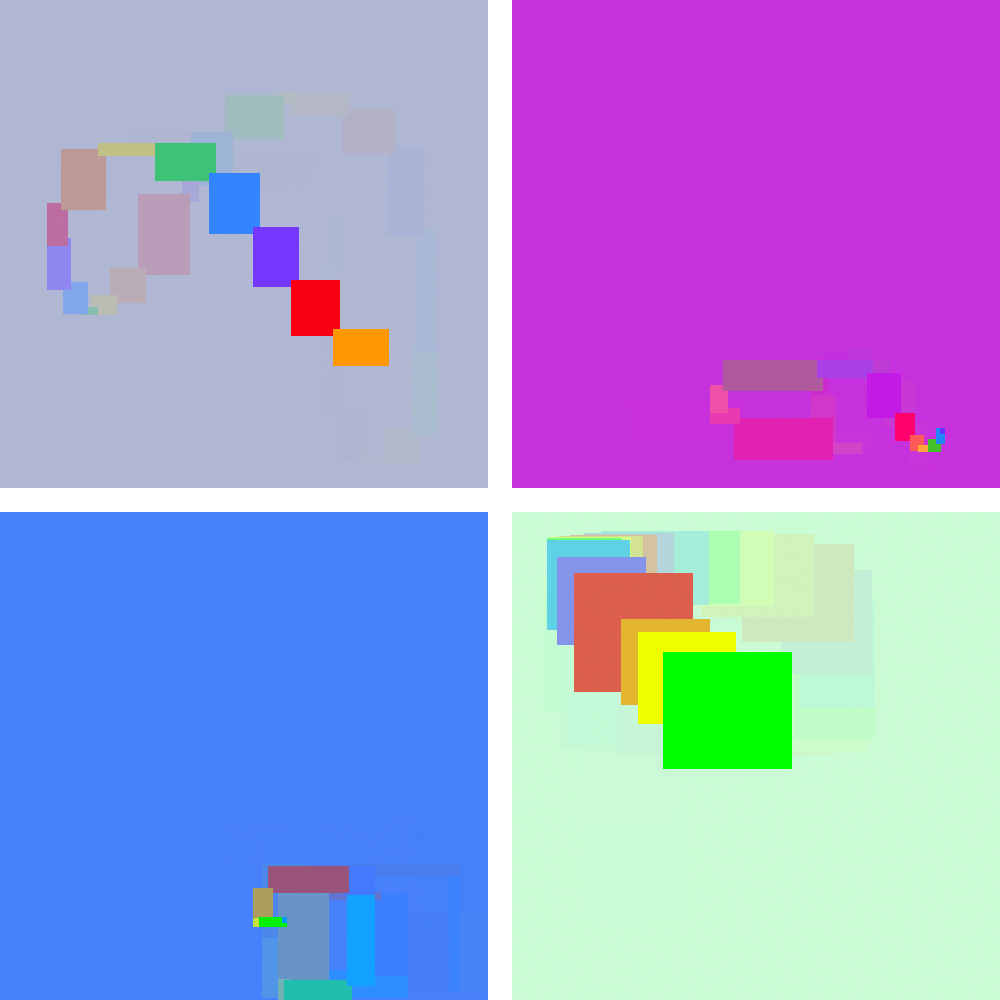
The right- and centre-click functions will adjust of the squares.
Paint App
Processing offers a selection of mouse event functions – which somewhat overlap in functionality with the mouse variables – but, are placed outside of the draw() function. These are:
mousePressed(),
mouseReleased(),
mouseWheel(),
mouseClicked(),
mouseDragged(), and
mouseMoved().
We’ll combine the first three to create a simple paint app that features a panel for selecting and adjusting brush properties. These functions listen for specific mouse events, and once triggered, execute some code in response. Once you’ve grasped a few event functions, it’s easy enough to look up and figure out the others. We’ll also be controlling Processing’s draw() behaviour manually as opposed to having it automatically repeat per the frame rate.
Create a new sketch and save it as “paint_app”. Download the font, Ernest (by Marc André ‘mieps’ Misman) from DaFont; extract it; then place the “Ernest.ttf” file in your data sub-directory:
https://dl.dafont.com/dl/?f=ernest
Add the following setup code:
def setup():
    size(600,600)
    background('#004477')
    ernest = createFont('Ernest.ttf', 20)
    textFont(ernest)
    noLoop()

def draw():
    print(frameCount)
The noLoop() function prevents Processing continually executing code within the draw() function. If you run the sketch, the Console displays a single “1”, confirming that the draw ran just once. This may seem odd to you. After all, if you wanted to avoid frames why would you include a draw() at all? Well, there’s also a loop() function to reactivate the standard draw behaviour. As you’ll come to see, controlling the draw behaviour with mouse functions makes for a neat approach to building the app.
Add some global variables. It shouldn’t matter if you place these above or below the setup() code, as long the lines are flush against the left edge of the editor. These variables will be used to adjust and monitor the state of the brush. Perhaps somewhere near the top of your code makes more sense?
rainbow = [
  '#FF0000', '#FF9900', '#FFFF00',
  '#00FF00', '#0099FF', '#6633FF'
]
brushcolor  = rainbow[0]
brushshape  = ROUND
brushsize   = 3
painting    = False
paintmode   = 'free'
The mousePressed() function is called once with every press of a mouse button. If you need to establish which button has been pressed, you can use it in combination with the mouseButton variable. Add the code below. Ensure that the lines are flush left and that you’ve not placed it within the setup() or draw().
def mousePressed():
    if mouseButton == LEFT:
        loop()
Run the sketch. The moment you left-click within the display window numbers begin to count-up in the Console. To stop this upon release of the mouse button, use a mouseReleased() function; this is called once every time a mouse button is released.
def mouseReleased():
    noLoop()
When you run the sketch, the frame-count only counts-up in the Console while you are holding the left mouse button down. Excellent! Now add some painting code to the draw function.
def draw():
    print(frameCount)
    stroke(brushcolor)
    strokeCap(brushshape)
    strokeWeight(brushsize)
    line(mouseX,mouseY, pmouseX,pmouseY)
Run the sketch and have a play. It works, but there are some issues.
The first point you lay connects to the top-left corner via a straight line. This is because pmouseX and pmouseY grabbed their last x/y coordinates on frame 1 before your moused reached into the display window – hence, the line’s initial position of (0,0). Also, if you paint for a bit then release the mouse button, then click again to paint elsewhere, the app draws a straight line from where you last left-off to your new starting position. While the mouse button is raised, the draw() code ceases to execute, so pmouseX and pmouseY hold coordinates captured prior to the loop’s suspension. Make the necessary adjustments to resolve these bugs:
def draw():
    print(frameCount)
    global painting, paintmode

    if paintmode == 'free':
      if not painting and frameCount > 1:
          line(mouseX,mouseY, mouseX,mouseY)
          painting = True
      elif painting:
          stroke(brushcolor)
          strokeCap(brushshape)
          strokeWeight(brushsize)
          line(mouseX,mouseY, pmouseX,pmouseY)

...

def mouseReleased():
    noLoop()
    global painting
    painting = False
Run the sketch to confirm that everything works. Read over these edits while simulating the process in your mind, paying careful attention to when painting is in a true or false state. The if not painting… statement draws a line from the current x/y coords to the current x/y coords (not previous) if painting is False. The frameCount > 1 part solves the initial (0,0) problem. The paintmode variable will become relevant later when we begin adding different paint-modes.
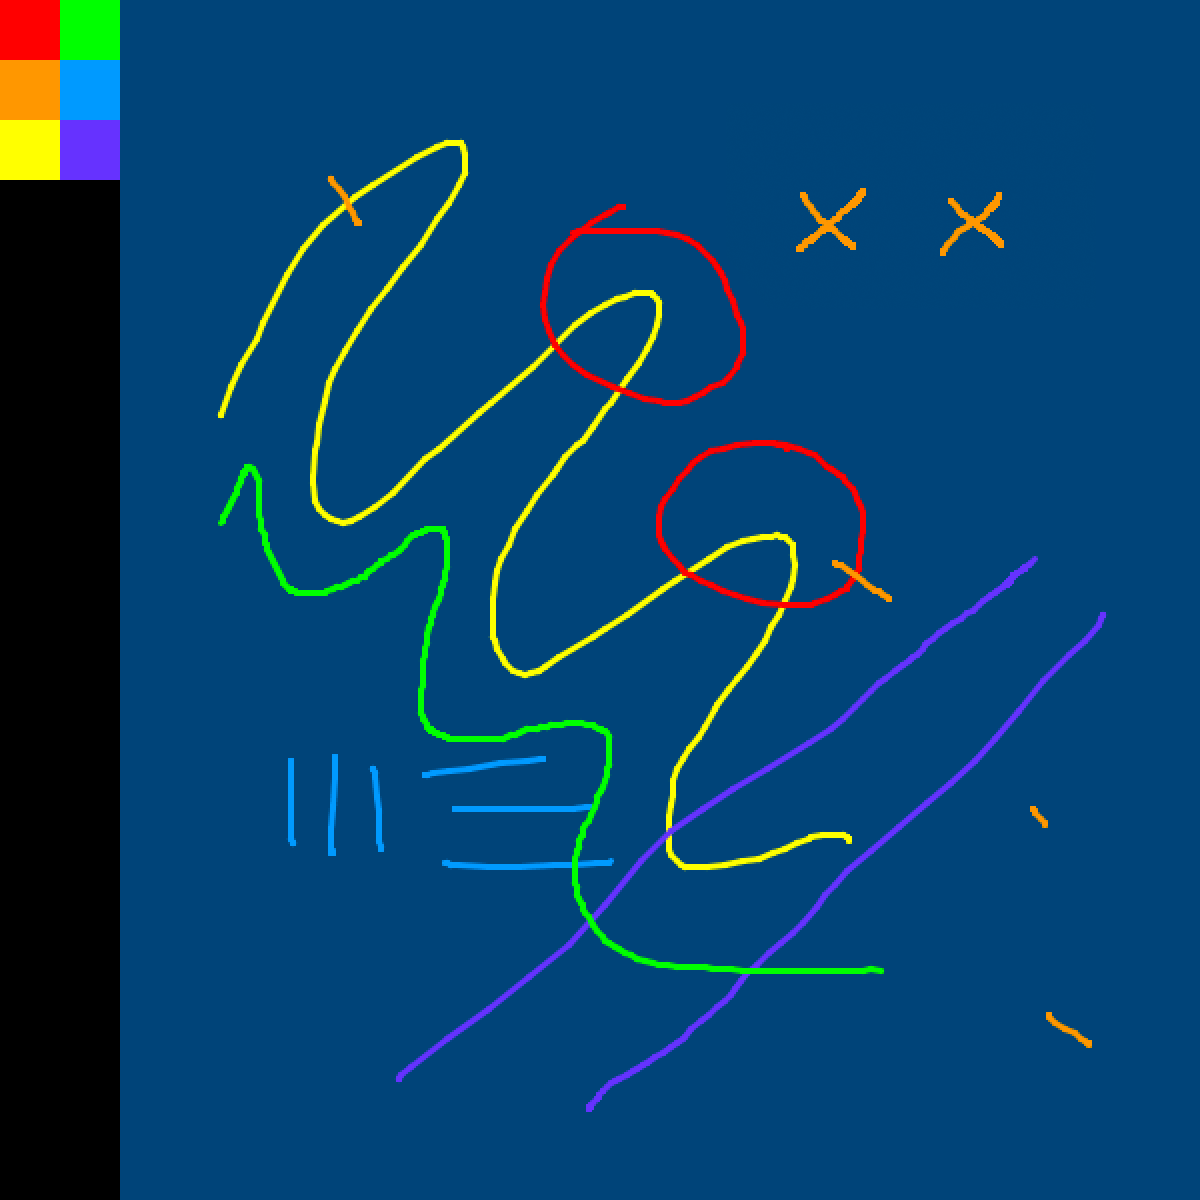
The next step is to provide a panel from which the user can select colours and other brush features. Add the code below to the draw() loop. It places a black panel against the left edge, and within it, selectable colour swatches based on the rainbow list.
        ...
        line(mouseX,mouseY, pmouseX,pmouseY)

    # black panel
    noStroke()
    fill('#000000');  rect(0,0, 60,height)

    # color palette
    fill(rainbow[0]); rect(0,0,  30,30)
    fill(rainbow[1]); rect(0,30, 30,30)
    fill(rainbow[2]); rect(0,60, 30,30)
    fill(rainbow[3]); rect(30,0, 30,30)
    fill(rainbow[4]); rect(30,30,30,30)
    fill(rainbow[5]); rect(30,60,30,30)
The panel code is placed below the paint code. In this way, Processing draws the panel last so that no paint strokes appear over it.

Selecting buttons is where things get a little clumsy. When you are programming with GUI libraries, every element in your interface is something to which you can attach an event handler. Consider your red button:
fill(rainbow[0]); rect(0,0, 30,30)Now suppose that you were using some GUI library. The same code might look something like this:
redbutton = createButton(0,0, 30,30, rainbow[0])The position, size, and fill parameters are all handled in a single createButton function. That’s neat, but it gets better! There will be dedicated methods that listen for events. For example, something like a click() method that can be attached to any buttons you’ve created:
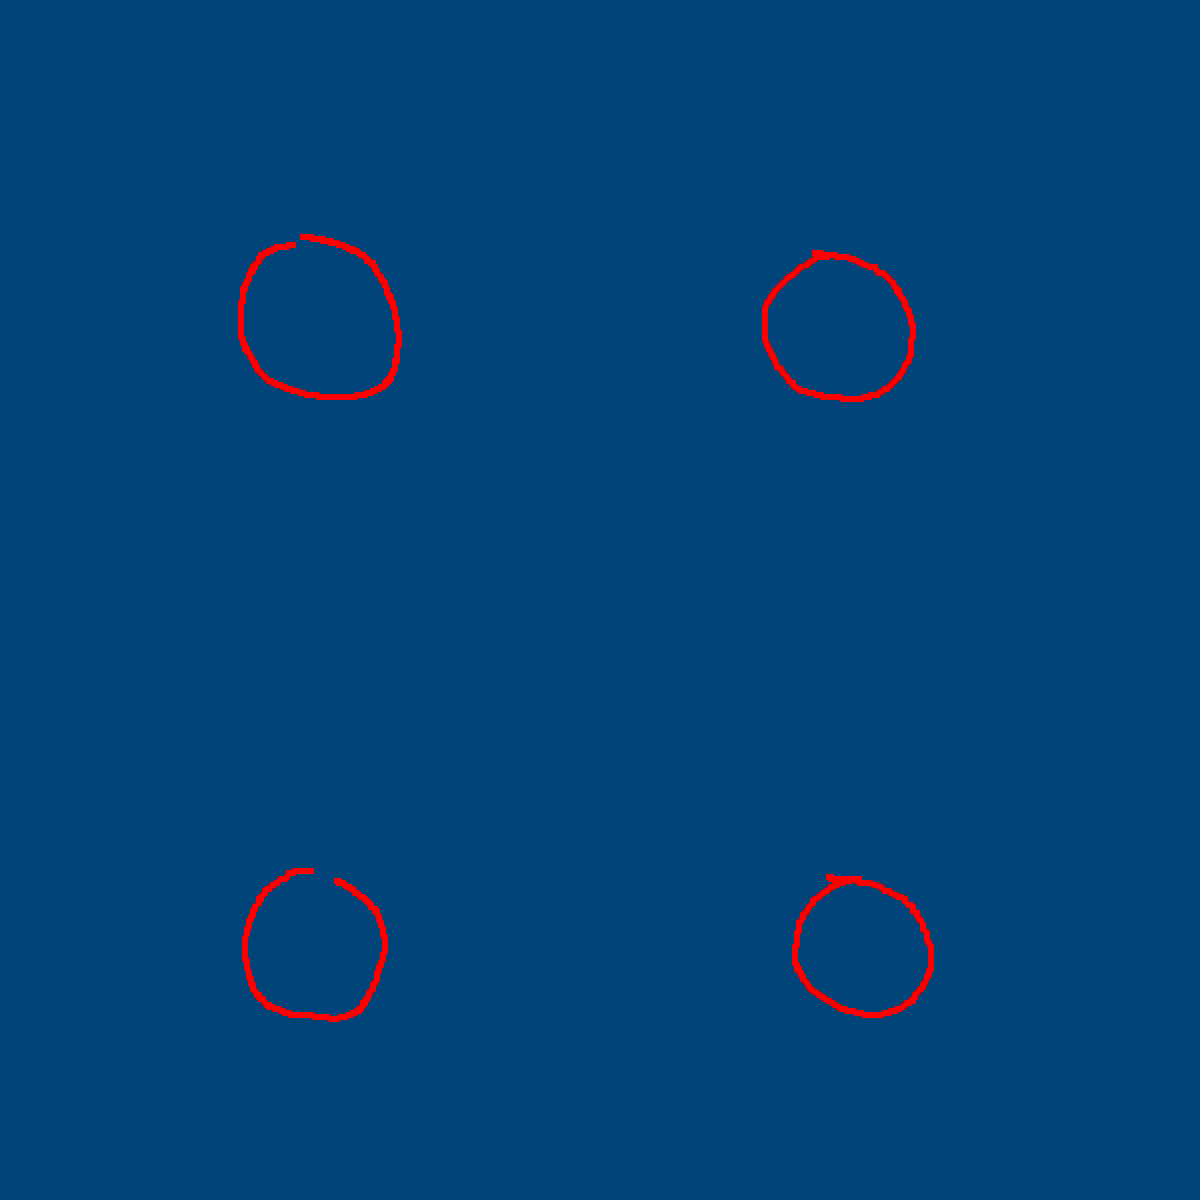
redbutton.click( setBrushColor(rainbow[0]) )To reiterate: this is not real code. However, we’ll look at one such library (ControlP5) further into this lesson. What I wish to highlight here’s that there’s no need to detect the mouse position when event listeners are handling things for you. As this sketch employs no such library, we’ll adopt a similar approach to that of the four-square task (lesson 3); that’s, detecting within which square a pointer is positioned. Overhaul your mousePressed() function.
def mousePressed():
    if mouseButton == LEFT:
        loop()

        global brushcolor, brushshape, brushsize

        if mouseX < 30:
            if mouseY < 30:
                brushcolor = rainbow[0]
            elif mouseY < 60:
                brushcolor = rainbow[1]
            elif mouseY < 90:
                brushcolor = rainbow[2]
        elif mouseX < 60:
            if mouseY < 30:
                brushcolor = rainbow[3]
            elif mouseY < 60:
                brushcolor = rainbow[4]
            elif mouseY < 90:
                brushcolor = rainbow[5]
The outer < 30 and < 60 conditions separate the area into two columns; the sub-conditions isolate the row. Run the sketch. You can now select different colours for painting.
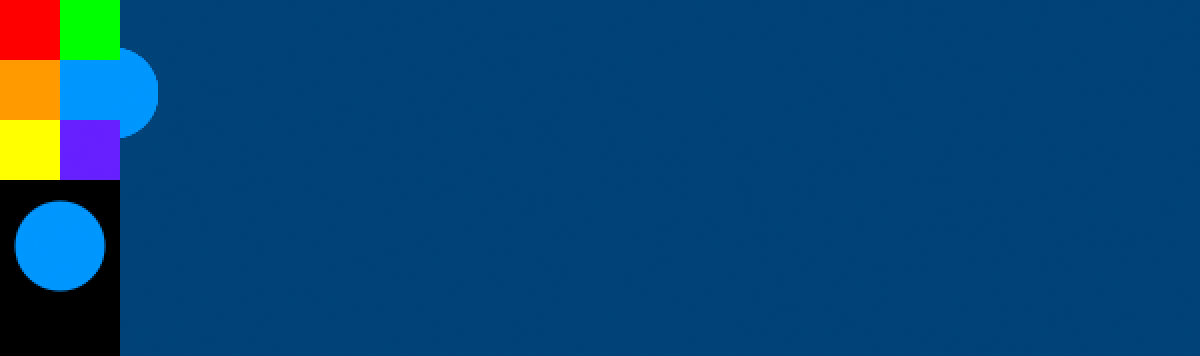
Next, we’ll add a feature for resizing the brush, mapping the function to the scroll wheel. In addition, there will be a profile of the brush below the swatches. This profile will reflect the active brush’s colour, size, and shape. Locate the last line you wrote in the draw() function, and add the brush preview code the draw block.
    ...
    fill(rainbow[5]); rect(30,60,30,30)

    # brush preview
    fill(brushcolor)
    if brushshape == ROUND:
        ellipse(30,123, brushsize,brushsize)
    paintmode = 'free'
The last line does nothing for now, but it will be important for the next (sizing) step. The app now renders a brush preview in the panel. Although the size cannot be adjusted yet, the colour of the dot changes as you click different swatches.
The mouseWheel() event function returns positive or negative values depending on the direction the scroll wheel is rotated. Add the following lines to the very bottom of your code.
def mouseWheel(e):
    print(e)
    global brushsize, paintmode

    paintmode = 'select'
    brushsize += e.count

    if brushsize < 3:
        brushsize = 3
    if brushsize > 45:
        brushsize = 45

    redraw()
This code requires some explanation. Firstly, there’s the e argument within mouseWheel() brackets. You may use any name you like for this argument; it serves as a variable to which all of the event’s details are assigned. Note how the Console displays something like this each time the scroll wheel rotates:
<MouseEvent WHEEL@407,370 count:1 button:0>
From this output, one can establish the type of mouse event (WHEEL), the x/y coordinates at which it occurred (@407,370), and the number of scroll increments (count:1). If you added an e argument to one the other mouse functions – i.e. mousePressed() or mouseReleased() – the button value would be some integer. For example, a mousePressed(e) upon left-click would hold something like <MouseEvent PRESS@407,370 count:1 button:37>
We do not want to paint while adjusting the brush size, so the paintmode is switched to select. This way, it can be switched back once the adjustment is complete. The switch-back happens inside the draw loop.
The e.count is used to retrieve the number of scroll increments from the mouse event. It’s necessary, however, to include some checks (if statements) to ensure that the new size remains within a range of between 3 and 45.
The redraw() function executes the draw() code just once – in contrast to a loop() that would set it to repeat continuously.
Run the sketch to confirm that you can resize the brush using the scroll wheel.
There’s one problem, though. When selecting swatches with a large brush a discernible blob of colour extends into the canvas area.
To resolve this issue, add an if statement to the draw() that disables painting while the mouse is over the panel. Use the paintmode variable to control this.
def draw():
    print(frameCount)
    global painting, paintmode

    if mouseX < 60:
        paintmode = 'select'

    ...
Next, add a clear button that wipes everything from the canvas. This requires a new clearall variable, as well as some additional code for the draw() and mousePressed() blocks.
...
clearall = False

def draw():
    ...

    # clear button
    global clearall
    fill('#FFFFFF')
    text('clear', 10,height-12)

    if clearall:
        fill('#004477')
        rect(60,0, width,height)
        clearall = False

def mousePressed():
    ...
    global clearall
    if mouseX < 60 and mouseY > height-30:
        clearall = True
        redraw()
The clear button has no hover effect. That’s to say, when you position the mouse cursor above it, there’s no visible change.
It’s good practice always to provide mouse hover and pressed states for clickable interface elements. This provides visual feedback to the user indicating when he or she has something activated or is about to select something. A ‘while pressed/pressing’ state may seem redundant, but most buttons fire-off instructions when a user releases the click. In other words, you can click on any interface element – and provided you keep your mouse button held down – can then move out of the clickable zone and release without triggering anything. Try it on this link:
We could add hover effects to this paint app’s interface, but it’s going to get too messy. I’ve tried to keep things orderly, but the code is beginning to turn into spaghetti. Once again, this is where it helps to use a proper user-interface toolkit, markup language, or GUI library.
Another small tweak that will improve the interface is a custom mouse cursor. Processing’s cursor() function can switch the standard pointer for an image. Download the PNG file below and add it to your data sub-directory.
Then add the following code to the end of your draw() function:
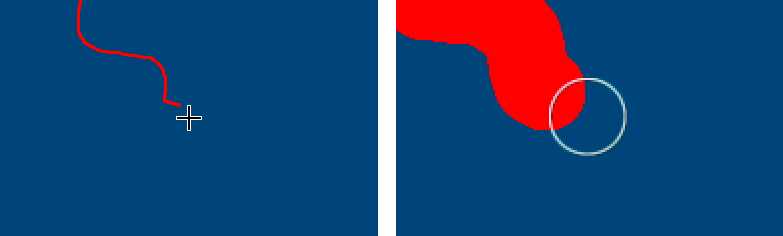
    if brushsize < 15:
        cursor(CROSS)
    else:
        mousecursor = loadImage('brush-cursor.png')
        mousecursor.resize(brushsize, brushsize)
        cursor(mousecursor)
There are six predefined cursor arguments: ARROW, CROSS, HAND, MOVE, TEXT, and WAIT. In this case, a crosshair (CROSS) will appear for any brush sized less than 15 pixels. For anything larger, the PNG image cursor (an empty circle) appears instead to help gauge the brush size.
The appearance of the predefined cursors will vary depending on your operating system. If you ever need to hide the mouse cursor altogether, use the noCursor() function.
In the next section, you’ll explore keyboard interaction. After that, you may want to add some shortcut keys to your drawing app and maybe even some new features?
7.3: Keyboard Interaction »
Complete list of Processing.py lessons