« 7.2: Mouse Interaction |
7.4: Collision Detection »
Keyboard Interaction
Computers inherited their keyboard designs from typewriters. In adapting, keyboards spawned various new keys – like, the arrows for navigating text-based interfaces, escape and function keys, and a number pad for more efficient numeric entry. Of course, computers could also perform a more diverse range of tasks, and this warranted the inclusion of further modifier keys (Alt, Ctrl, ⌘, Fn) to be used in conjunction with existing keys to perform specific operations. The Z, X, C, and V keys, for example, when combined with Ctrl or ⌘, perform undo/copy/cut/paste operations. Each modifier key, essentially, doubles the range of input with the addition of a single key. The typewriter’s shift key, though, could be credited as the original modifier key. The key got its name from how it physically shift-ed a substantial part of the typewriting mechanism into a position for transferring capital letters.
Over the years, keyboard layout and usage has evolved in interesting ways. The ubiquitous QWERTY arrangement was devised to avoid characters jamming on mechanical typewriters, so arguably there’s room for some optimisation in computer designs. On a typewriter, backspace literally tracked backwards a space for placing diacritical marks above letters, i.e. typing e, then backspace, then ´, resulted in an é. On computers, however, the backspace key deletes characters to the left of the cursor; conversely, the delete key eliminates characters to the right of the cursor (although, it formerly punched holes in stiff paper cards). Furthermore, to make things confusing, the backspace key is often labelled ‘delete’. The escape (Esc) key – originally included for controlling devices using “escape sequences” – was commandeered by programmers looking to stop or abort (‘escape from’) an active process.
Arrow keys were popular for early computer games, but as more titles began to combine the mouse and keyboard, players discovered that a WASD configuration provided a more ergonomic arrangement for right-handed mouse users. Today, keyboard manufacturers offer a plethora of gaming-specific designs, including single-handed variations with less than half complement of standard keys.
One can utilise keyboard input in many creative ways. For example, the rhythm game, Frets on Fire, relies on the F1–F5 and Enter keys to emulate the form of a guitar. The mascot on the game’s menu screen provides a good idea of how to hold the keyboard.

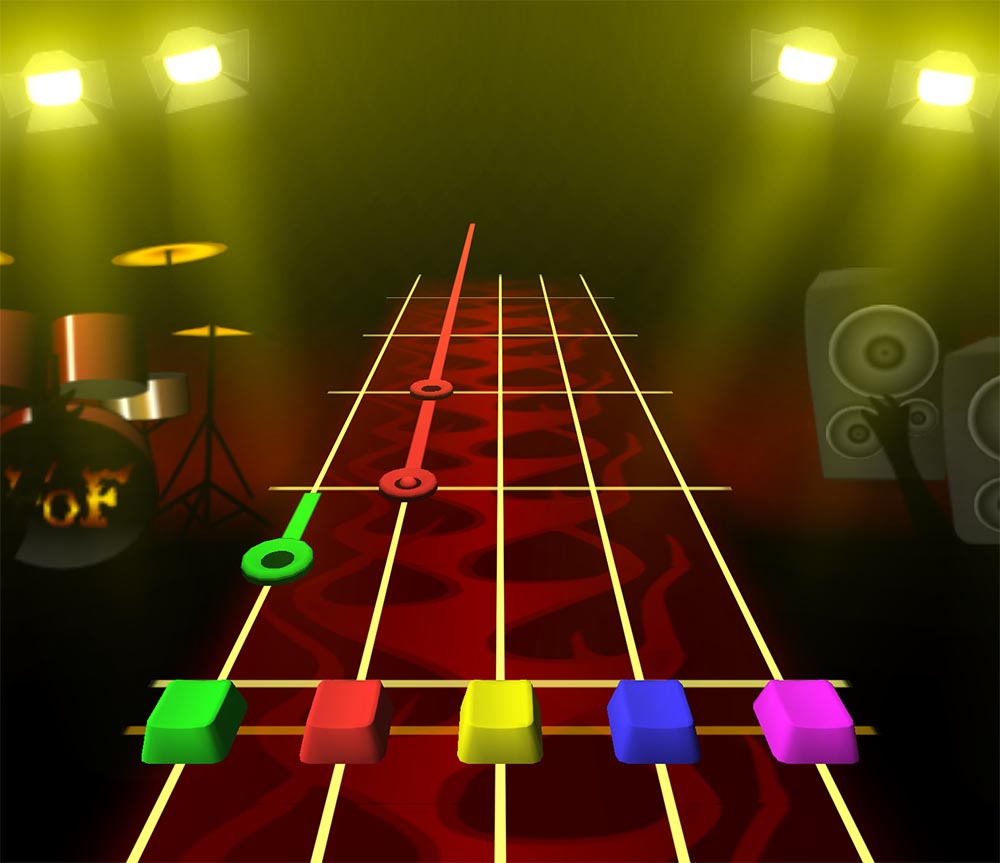
Unreal Voodoo (game author) [GPL], via Wikimedia Commons
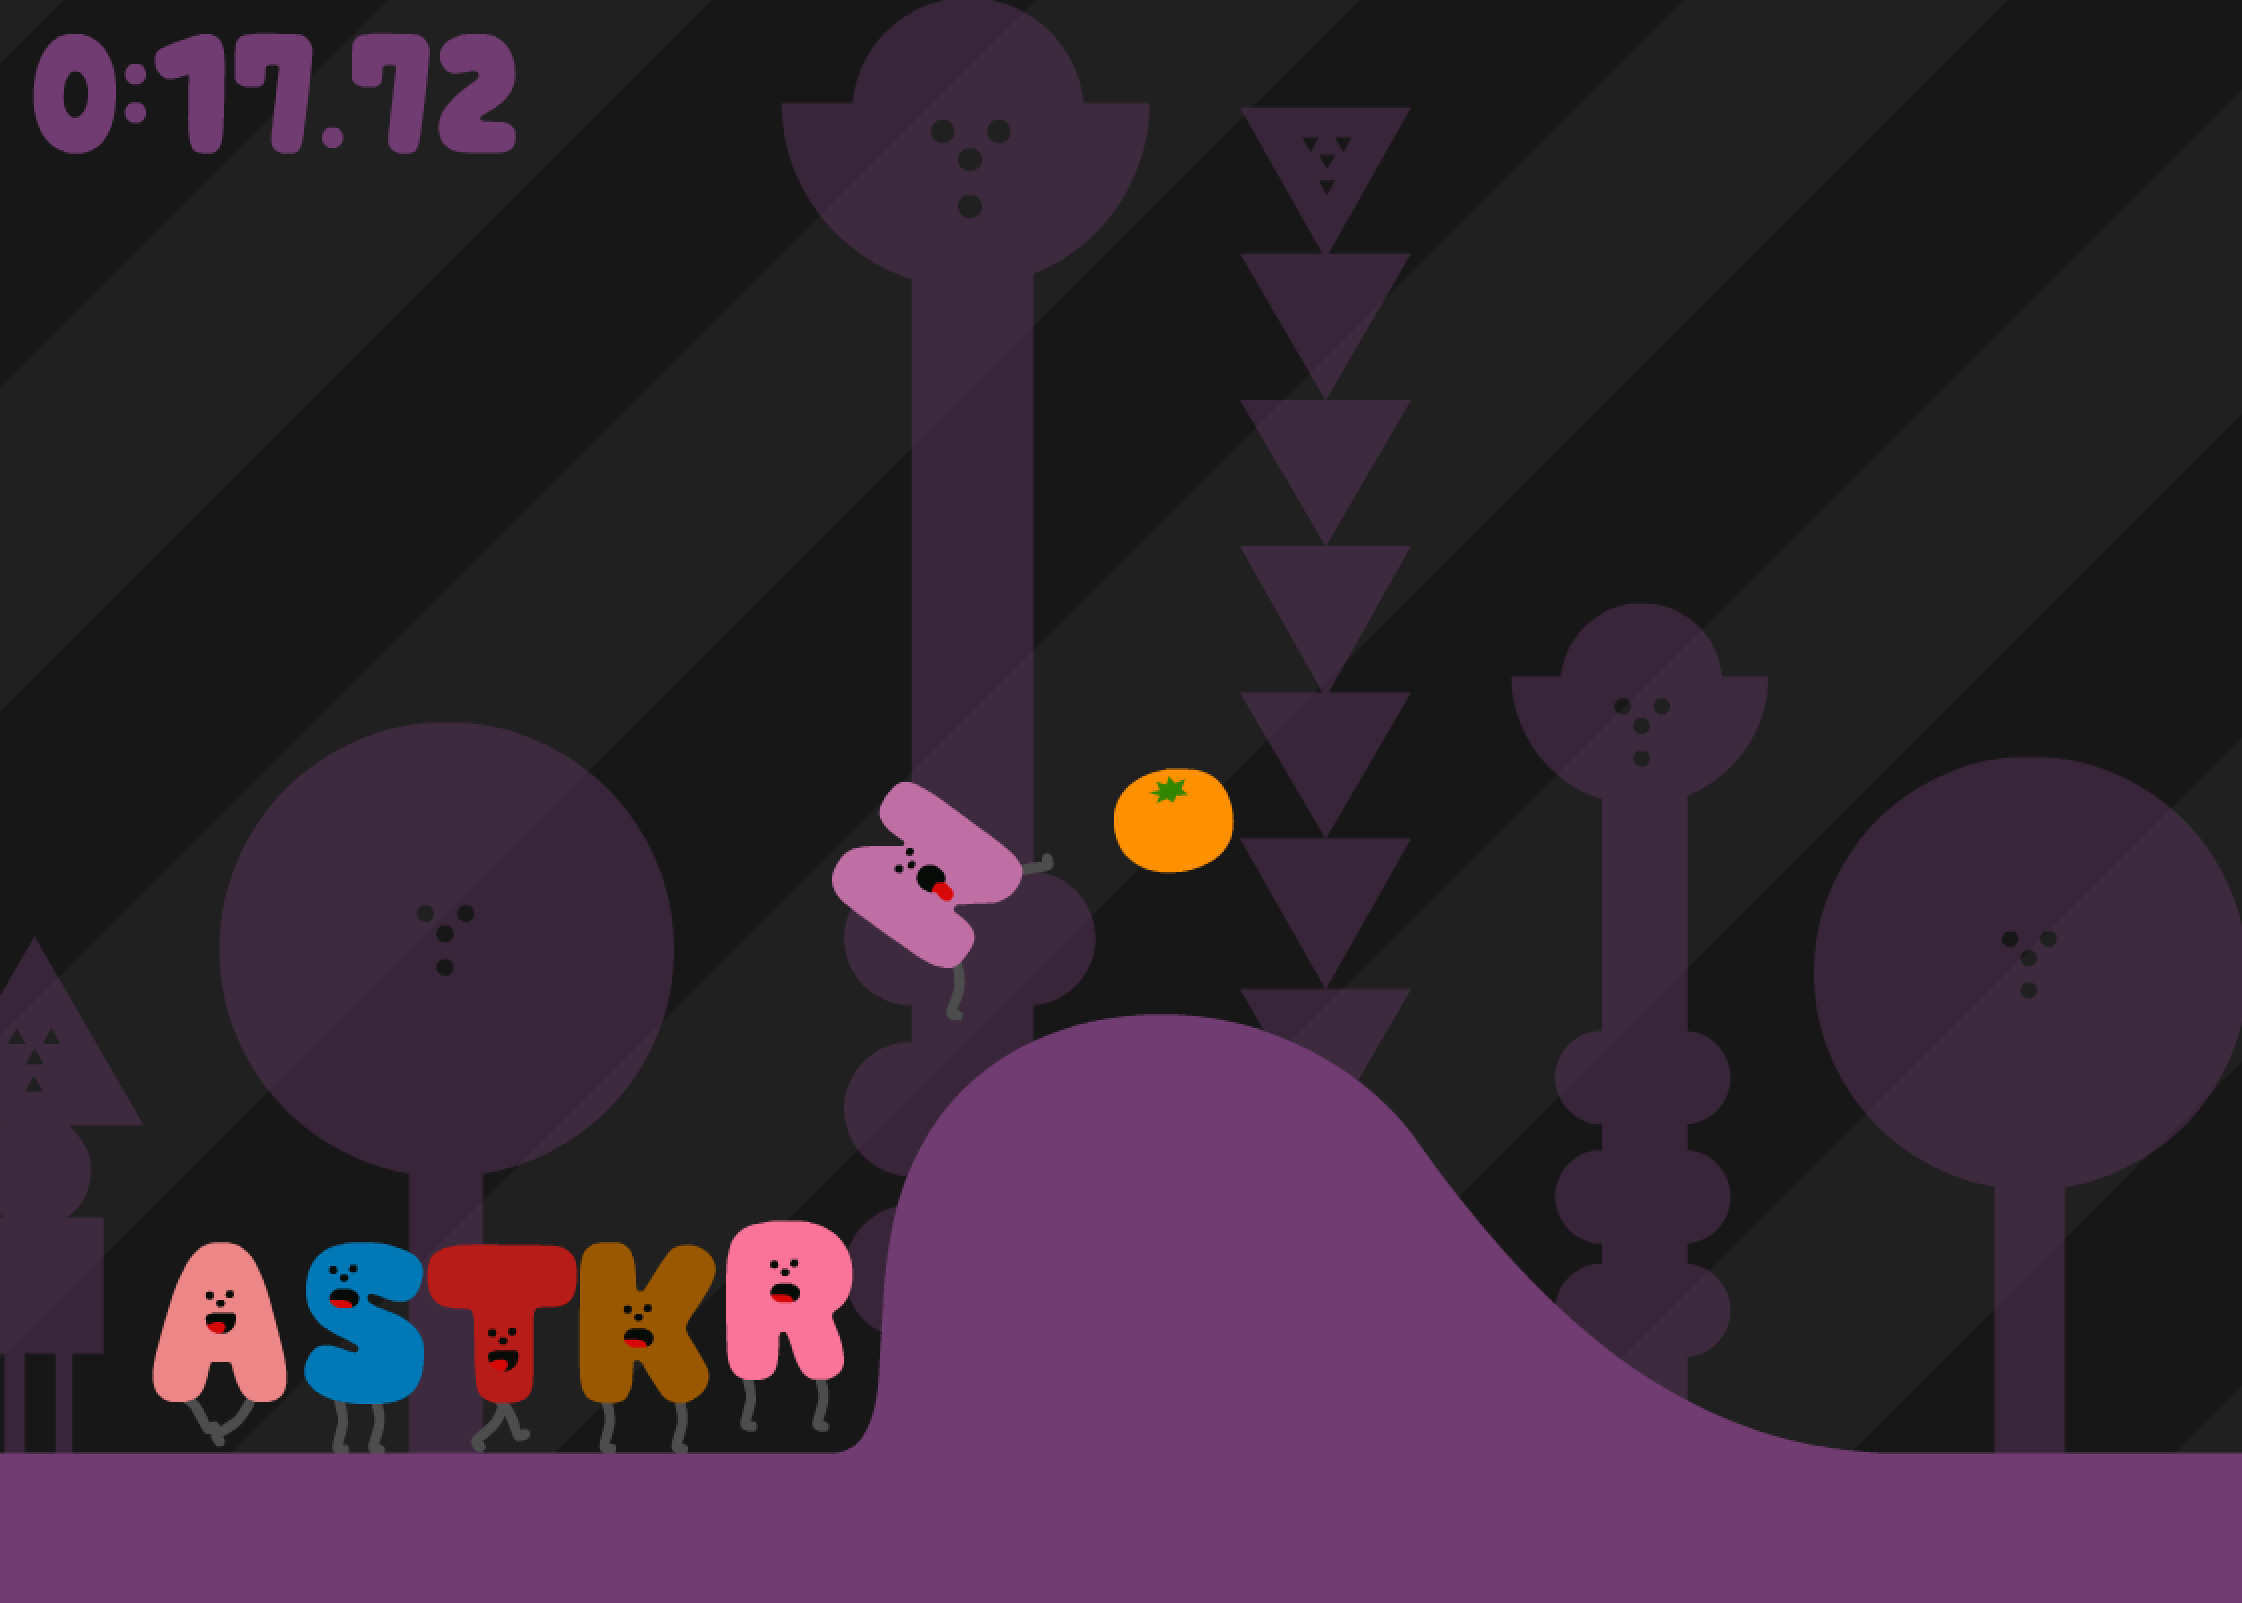
In ALPHABET, a game by Keita Takahashi and Adam Saltsman, each letter is controlled by its corresponding key. The goal is to get all of the letters to the end of a wacky obstacle course.
Keyboard interaction in Processing works similarly to mouse interaction. There are a series of system variables – key, keyCode, and keyPressed – as well as event functions – keyPressed(), keyReleased(), keyTyped().
We’ll create a simple game that controls a basic character using keyboard input. The closest game I can think of is Snake, although “Snake” is really more of a genre than a game. Many (most?) people are familiar with this game, largely thanks to the version Nokia preinstalled on its hugely successful mobile phones of the late nineties. Our game will be far simpler though, missing many key features. For this reason, it will be named Sna.
Have you ever tried to type "play snake" into Google's search engine?
Create a new sketch and save it as “sna”. Create a “data” sub-directory and place a copy of the Ernest font within it. Add the following code to get started.
def setup():
    size(400,300)
    frameRate(30)
    background('#004477')
    noStroke()
    ernest = createFont('Ernest.ttf', 30)
    textFont(ernest)
    textAlign(CENTER)

playerx = 195
playery = 145
xspeed = 0
yspeed = 0

def draw():
    global playerx, playery, xspeed, yspeed
    playerx += xspeed
    playery += yspeed

    fill(0x66004477)
    rect(0,0, width,height)

    fill('#FFFFFF')
    rect(playerx, playery, 10, 10)
Run the sketch. Confirm that you’ve a white square sitting in the middle of a blue background.

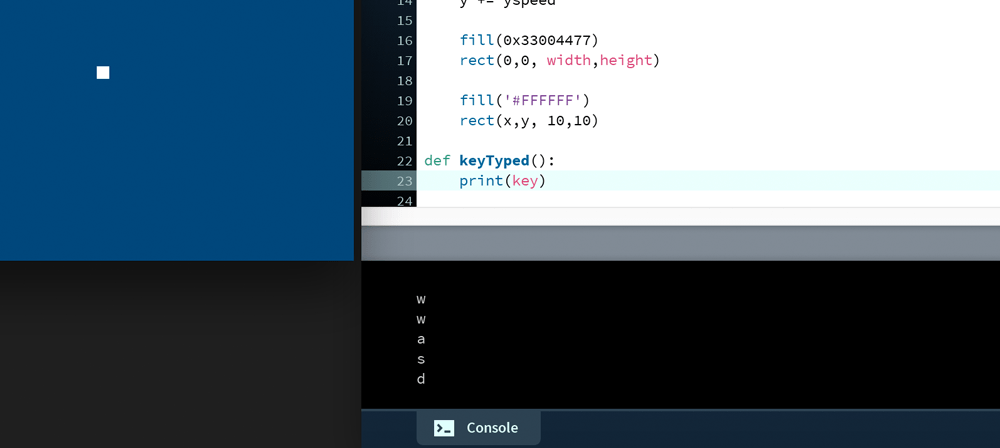
To control the movement of the square – or if you use your imagination, the ‘snake’ – we’ll use keyboard input. Add a keyTyped() function; this will be called every-time any key is pressed. Holding down a key results in repeated calls, the frequency of which is determined by your operating system. From here you can establish exactly which key been pressed by printing the key system variable; this always holds the most recent key you’ve used (whether currently pressed or released).
def keyTyped():
    print(key)
Run the sketch. Whichever key you press appears in the Console. However, there will be specific keys that fail to register, and these include the arrow keys. You’ll see why this is and how to work around it shortly.
For now, though, we’ll use the W key for moving up. One approach is to place a keyPressed system variable inside of the draw loop, then use an if statement to monitor when it’s True. Instead, though, we’ll employ a keyPressed() event function. Think of it this way: mousePressed is to mousePressed() what keyPressed is to keyPressed().
Add the following code the end of your working file:
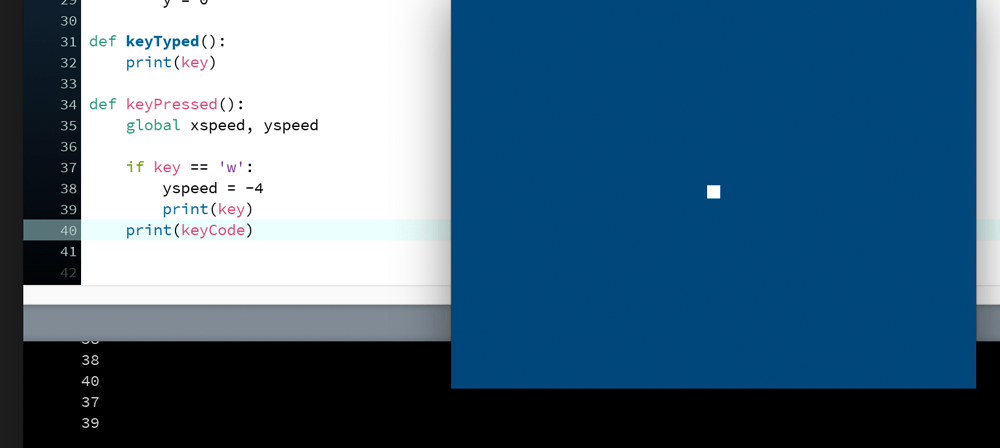
def keyPressed():
    global xspeed, yspeed

    if key == 'w':
        yspeed = -4
Ensure that this code is flush against the left-edge (not indented within another function). The if statement tests the key variable to determine if it’s equal to 'w'. Run the sketch. Pressing the w-key sends the ‘snake’ heading off in an upward direction. The yspeed variable – formerly equal to zero – is assigned a value of -4, which is in turn added to the y coordinate with each new frame drawn.
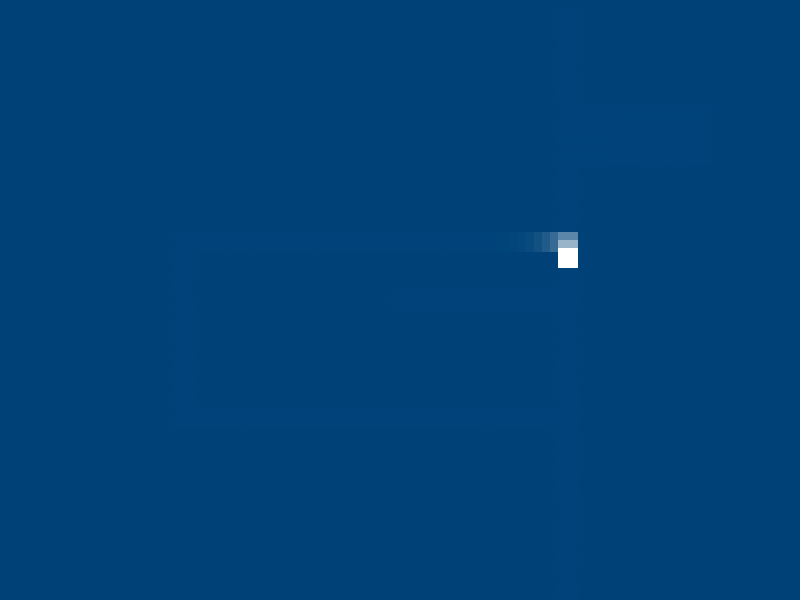
The square passes straight through the top of the display window never to be seen again. We’ll add some wrap-around walls so that, if the square exits at a given edge, it reappears on the opposite side. Add some if statements to the draw() function to reposition the cube upon breaching the boundary.
def draw():
    ...
    rect(playerx, playery, 10, 10)

    if playerx > width:
        playerx = 0
    if playerx < 0:
        playerx = width
    if playery < 0:
        playery = height
    if playery > height:
        playery = 0
Test the game. The cube will now teleport as it exits the display window. Adding left/right/down movement shouldn’t be a challenge for you. But, rather than relying on A/D/S, we’ll employ the arrow keys. Recall that the key variable registers any letter-keys, but ignores the arrow- and some other special keys. For detecting these, one uses the keyCode system variable. Add a line to print key-codes.
def keyPressed():
    ...
    print(keyCode)
Run the sketch. Every key that you press produces a corresponding number. The arrow codes range from 37 to 40.
You can now use these numbers with if statements to check for special keys. To make things more readable, Processing provides some keyword alternatives to the number codes, such as ALT, CONTROL, SHIFT, LEFT, RIGHT, UP, and DOWN. Add some code for arrow-key movement.
def keyPressed():
    ...
    if keyCode == UP:
        xspeed = 0
        yspeed = -4

    elif keyCode == DOWN:
        xspeed = 0
        yspeed = 4

    elif keyCode == LEFT:
        xspeed = -4
        yspeed = 0

    elif keyCode == RIGHT:
        xspeed = 4
        yspeed = 0
The game can now handle four-way (but not diagonal) movement.
Note, however, that BACKSPACE, DELETE, ENTER, ESC, RETURN, and TAB are not ‘special’ keys, and therefore held by the key variable (along with other ‘non-special’ keys). If you wish to, you can add the following code to your keyPressed() function to test this out.
    if (
         key == BACKSPACE or key == DELETE
         or key == ENTER  or key == ESC
         or key == TAB    or key == RETURN
       ):
        print('you pressed:')
        print('backspace, delete, enter, esc, return, or tab')
By using a pair of round brackets with the if statement, one can break-up conditional expressions across multiple lines. This technique can help improve code readability.
So far, it’s not the most advanced game. Each feature we add must be programmed from the bottom-up, whereas a proper game framework would typically include (at the very least) a built-in selection of pre-programmed rendering, physics, collision detection, audio, animation, and perhaps AI features. Processing has the renderer already, as well as some support for other essentials, like event handlers and graphics. What it lacks, though, can be made up through the inclusion of various libraries.
In my experience, many people get excited about developing a game when introduced to handling mouse and keyboard interaction. So, we’ll press on a little further, adding some simple collision detection the Sna sketch. This will (a) provide insight into some further game programming concepts, and (b) help you appreciate all the heavy-lifting a game library can do for you.
7.4: Collision Detection »
Complete list of Processing.py lessons