« 5.3: Lists of Lists |
5.5: External Data »
Dictionaries
Dictionaries can be thought of as an extension to the Python list concept. Now that you understand lists, grasping dictionaries should be easy. In a list, each value corresponds to a number indicating its position. One can, therefore, describe lists as numerically indexed. With dictionaries, each value is instead associated with a keyword. Dictionaries, therefore, are collections of key-value pairs.
If you want to experiment with the dictionary code that follows, create a new “dictionary” sketch now. However, you may find that reading over the content is enough to grasp it. Then you can begin coding again when you encounter the coffee chart task.
Creating New Dictionaries
Whereas lists are defined within square brackets, dictionaries rely on { braces }. The code below contrasts a list and a dictionary used to store an individual student’s details.
# list
studentlist = ['Sam', 24]

# dictionary
studentdict = {'name':'Sam', 'age':24}
Preceding each dictionary value is a key (in quotes) and a colon. Separating each key-value pair is a comma. You may store as many key-value pairs as you like in a dictionary – although, technically speaking, this is limited by how much free RAM/memory is available on your computer.
Accessing Dictionaries
To access a dictionary item, specify its key within square brackets.
print( studentdict['name'] )  # displays Sam
print( studentdict['age'] )   # displays 24
To print the entire dictionary, omit the square brackets and key, leaving just the variable name.
print( studentdict ) # {'name': 'Sam', 'age': 24}You now understand the syntactical differences between lists and dictionaries. Dictionaries also possess their own set of methods. Many list methods – such as append(), extend(), index(), insert(), and remove() – will not work on dictionaries. There are few important dictionary methods you’ll need in this lesson, which are covered below. For more methods, refer to any decent Python reference.
.keys()
The keys method will return a list of all the dictionary’s keys.
print( studentdict.keys() ) # ['name', 'age'].values()
The values method will return a list of all the dictionary’s values.
print( studentdict.values() ) # ['Sam', 24].items()
The .items() method returns a list of all the dictionary’s key-value pairs.
print( studentdict.items() ) # [('name', 'Sam'), ('age', 24)]This method is especially useful for iterating dictionaries (as you’ll soon see). Be warned, though: it may return values in a seemingly arbitrary order, i.e. not always the order in which they appeared when defining the dictionary. This has to do with how Python stores dictionaries (a topic beyond the scope of these tutorials).
Round brackets denote a tuple. Tuple can be pronounced as “too-ple” or “tuh-ple” depending on who you want to annoy. Tuples are not covered in this lesson, but for now, consider them as interchangeable with lists. For example:
items = studentdict.items()
print( items[0] )             # ('name', 'Sam')
print( items[0][0] )          # name
Note how tuple elements are also numerically indexed, and how list syntax is used to retrieve values. In a nutshell, the key difference is that tuples, once defined, cannot be modified. For more information, refer to the Processing reference.
Modifying Dictionaries
Dictionaries are dynamic structures. You can add and modify key-value pairs whenever you please. To change an existing value, simply reassign it as you’d a list element. Of course, you’ll use a key name as opposed to a numeric index.
studentdict['age'] = 25
print(studentdict)
# {'name': 'Sam', 'age': 25}
To add a new key-value pair, follow the same process.
studentdict['id'] = 19011501
print( studentdict )
# {'name': 'Sam', 'id': 19011501, 'age': 25}
To remove a key-value pair, use the del statement.
del studentdict['age']
print(studentdict)
# {'name': 'Sam', 'id': 19011501}
If you need to add/combine one dictionary with another, refer to the update() method.
Nested Dictionaries
As with lists, dictionary values may comprise a mix of data types and can even include other dictionaries or lists.
# dictionary of lists
students = {
  'names':['Sam', 'Lee'],
  'ages':[24, 18]
}
print( students['names'][1] ) # displays Lee
Lists can also contain dictionaries.
# list of dictionaries
students = [
  {'name':'Sam', 'age':24},
  {'name':'Lee', 'age':18}
]
print( students[1]['name'] )  # displays Lee
What you name your keys – i.e. name and age – and how you nest collections of elements should help relate your data to real-world models.
Loops + Dictionaries
As with lists, there are many scenarios where you’ll want to loop through dictionaries. Considering that a dictionary can hold thousands or even millions of key-value pairs, this is a powerful feature. Because of the key-value system, though, iterating dictionaries is a little different than lists. You can iterate a dictionary’s keys, iterate its values, or iterate its key-value pairs. This is where the keys(), values(), and items() methods prove particularly handy. We’ll explore an example of each approach. First, let’s print studentdict to see what we are dealing with:
print(studentdict)
# {'name': 'Sam', 'id': 19011501}
Because the keys() method returns a list, you can use it to iterate a dictionary’s keys.
for k in studentdict.keys():
    print(k)
name
id
On the first iteration, the print line displays the value of studentdict.keys()[0], and on the second iteration, studentdict.keys()[1]. This is confirmed in the Console, which displays “name” then “id”. Key iteration, however, automatically occurs when you combine a loop and a dictionary. If you omit the keys() method in the previous example, the result is the same.
#for k in studentdict.keys():
for k in studentdict:
    print(k)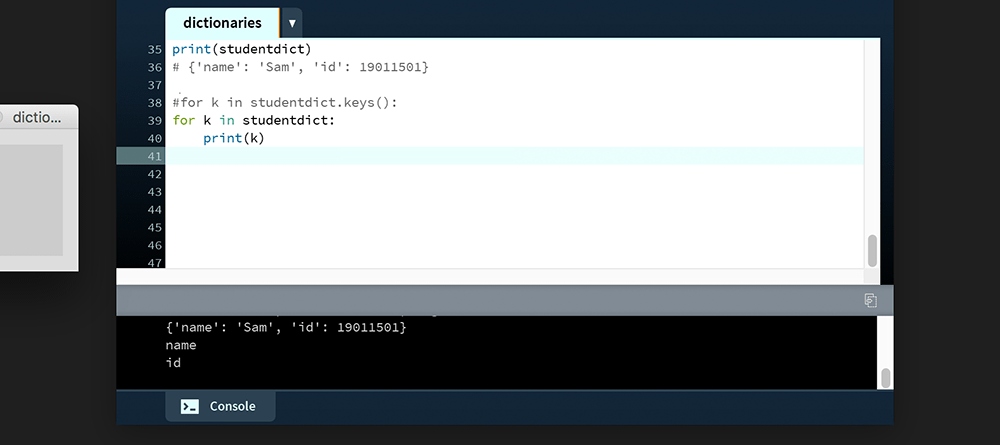
name
id
If you prefer a more explicit coding style, stick with the keys() method.
The values() method can be used similarly to the keys(). Of course, this returns just the item values.
for v in studentdict.values():
    print(v)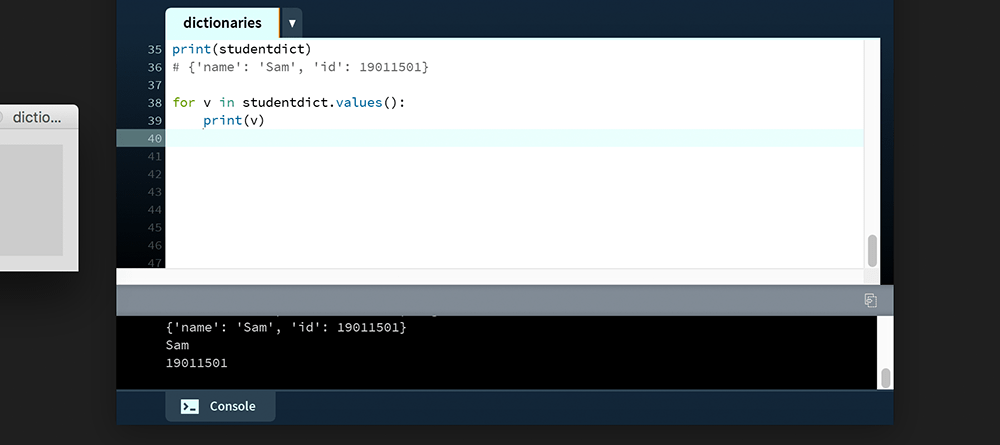
Sam
19011501
If you need to retrieve keys and values, use the items() method. In the example below, the loop prints a tuple holding the current iteration’s key-value pair. Because the items() method returns both a key and a value, you must include two variable names (between the for and in of the statement). You may name these whatever you like, but the order of assignment is always: key first, value second.
for k,v in studentdict.items():
    print(k,v)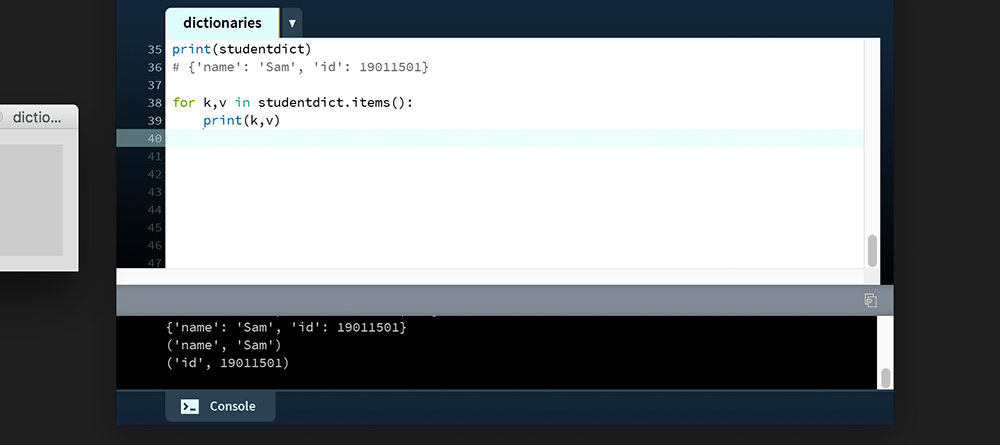
('name', 'Sam')
('id', '19011501')
If you want the loop to retrieve the keys in alphanumerical order, use the sorted() function.
for k,v in sorted( studentdict.items() ):
    print(k,v)
# prints:
# ('id', 19011501)
# ('name', 'Sam')
The “id” tuple now appears first in the Console (before “name”). The sorted() function accepts additional arguments (such as reverse ordering). The Processing reference includes more information.
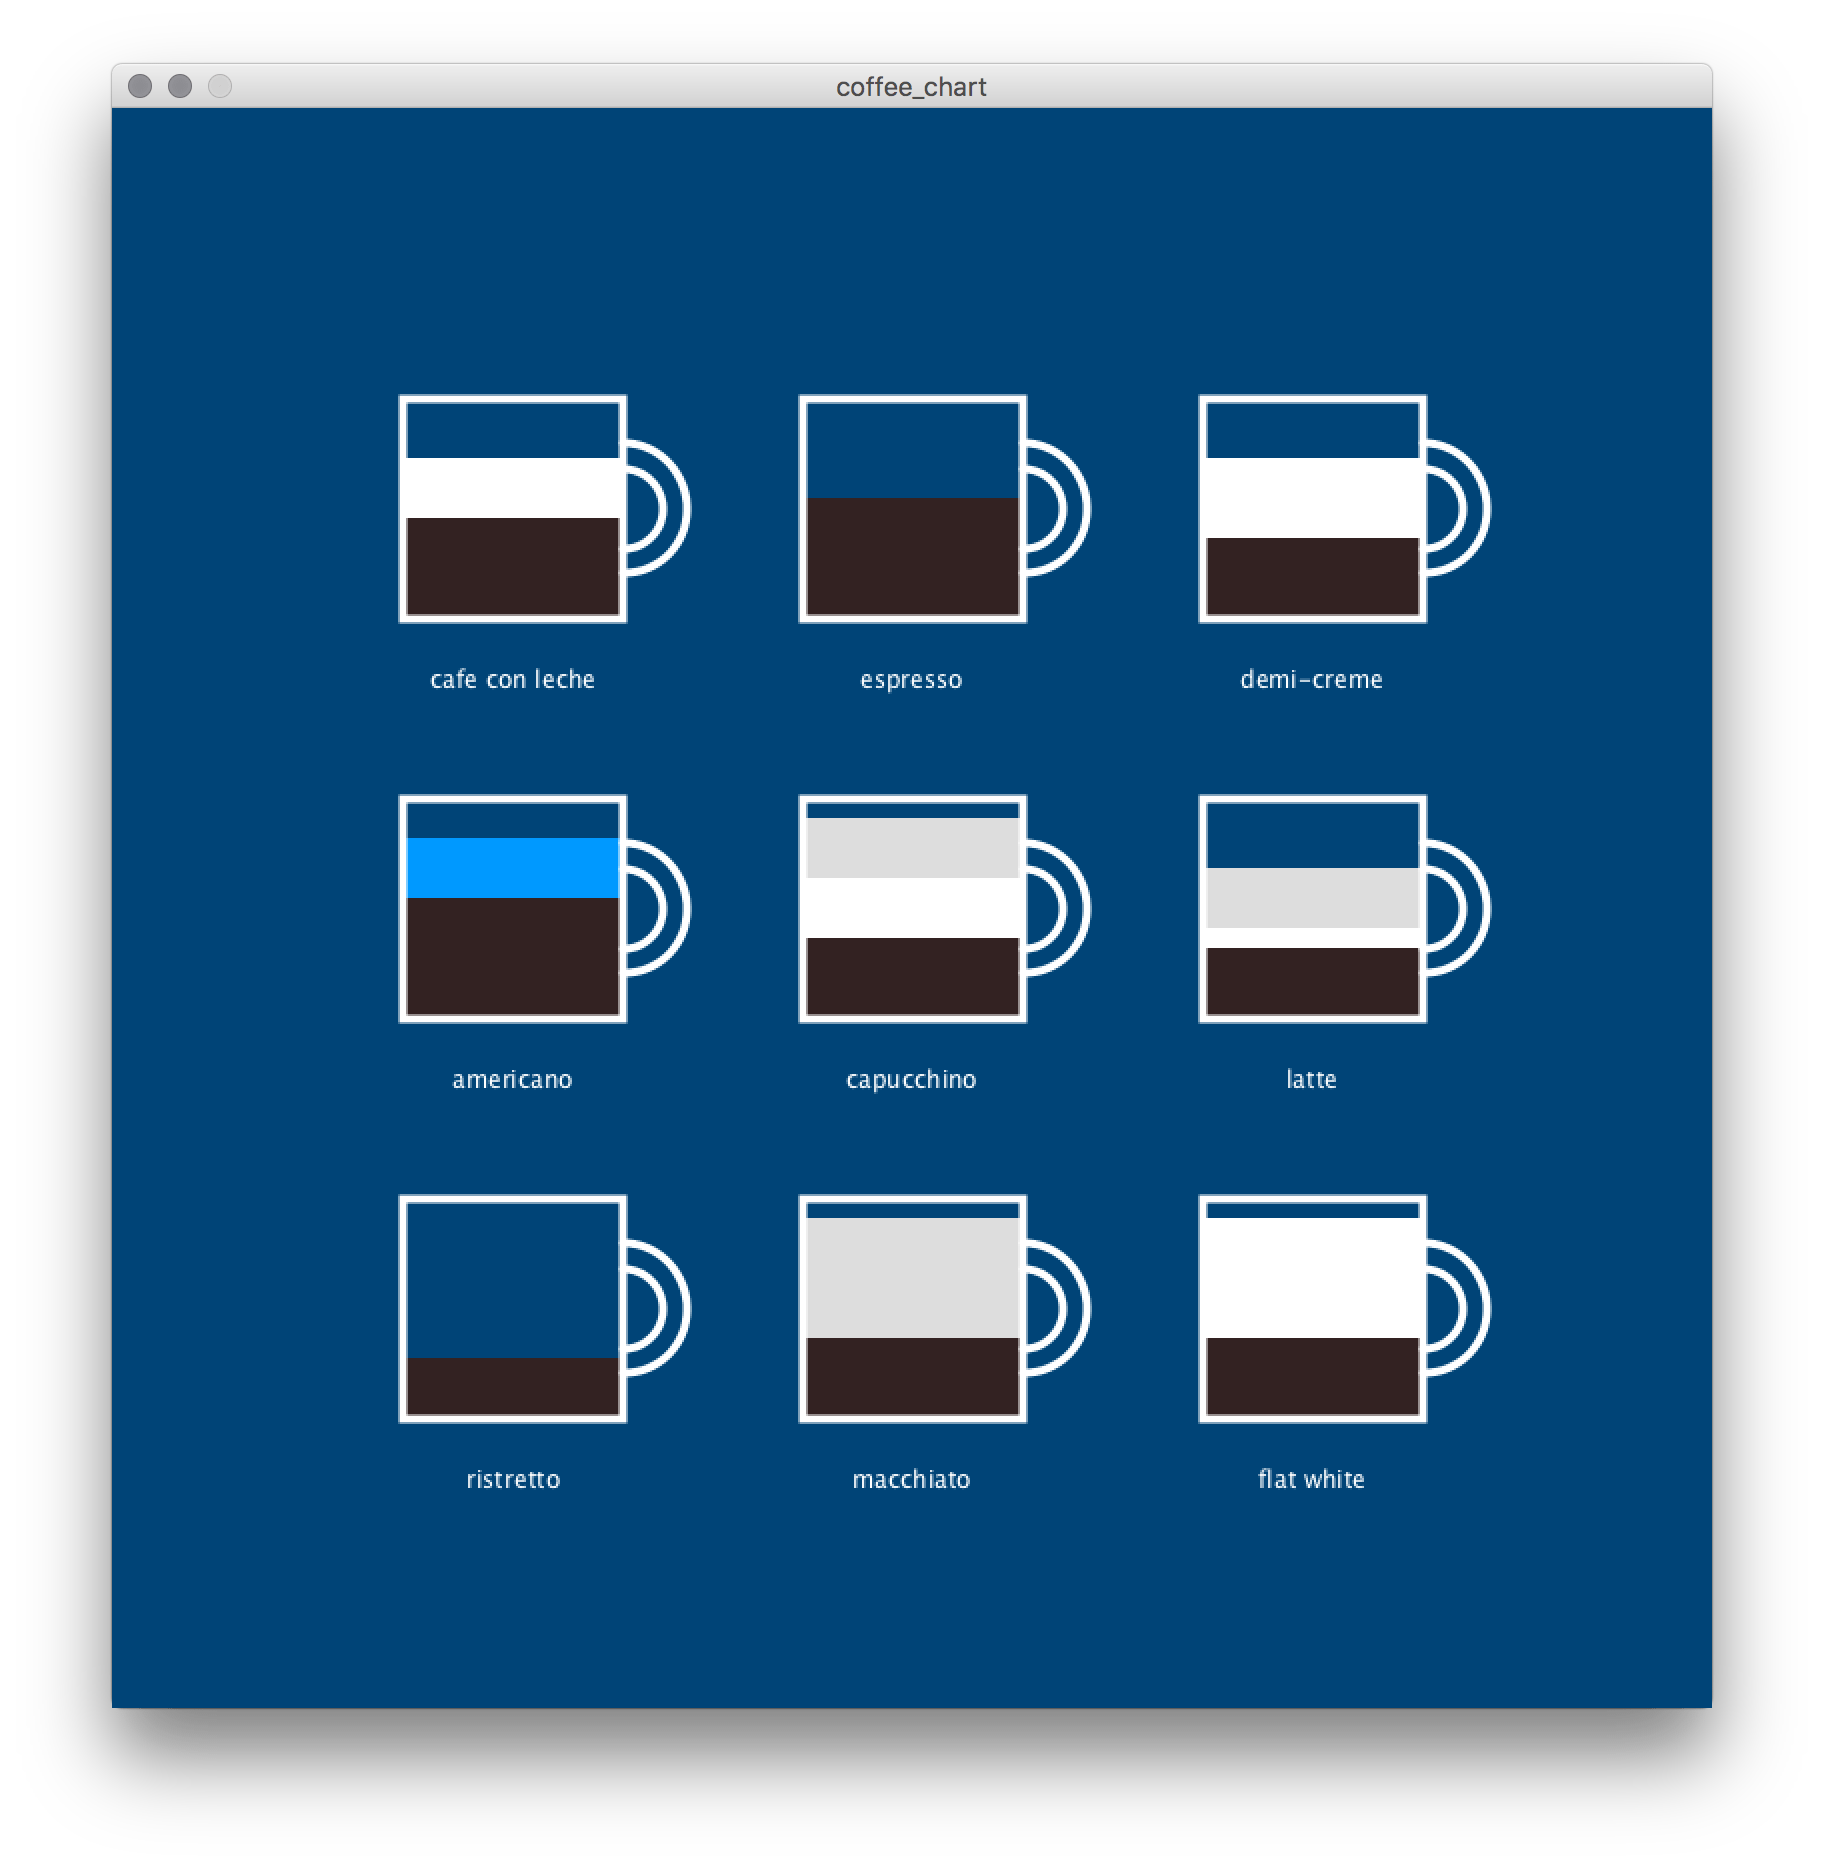
Coffee Chart Task
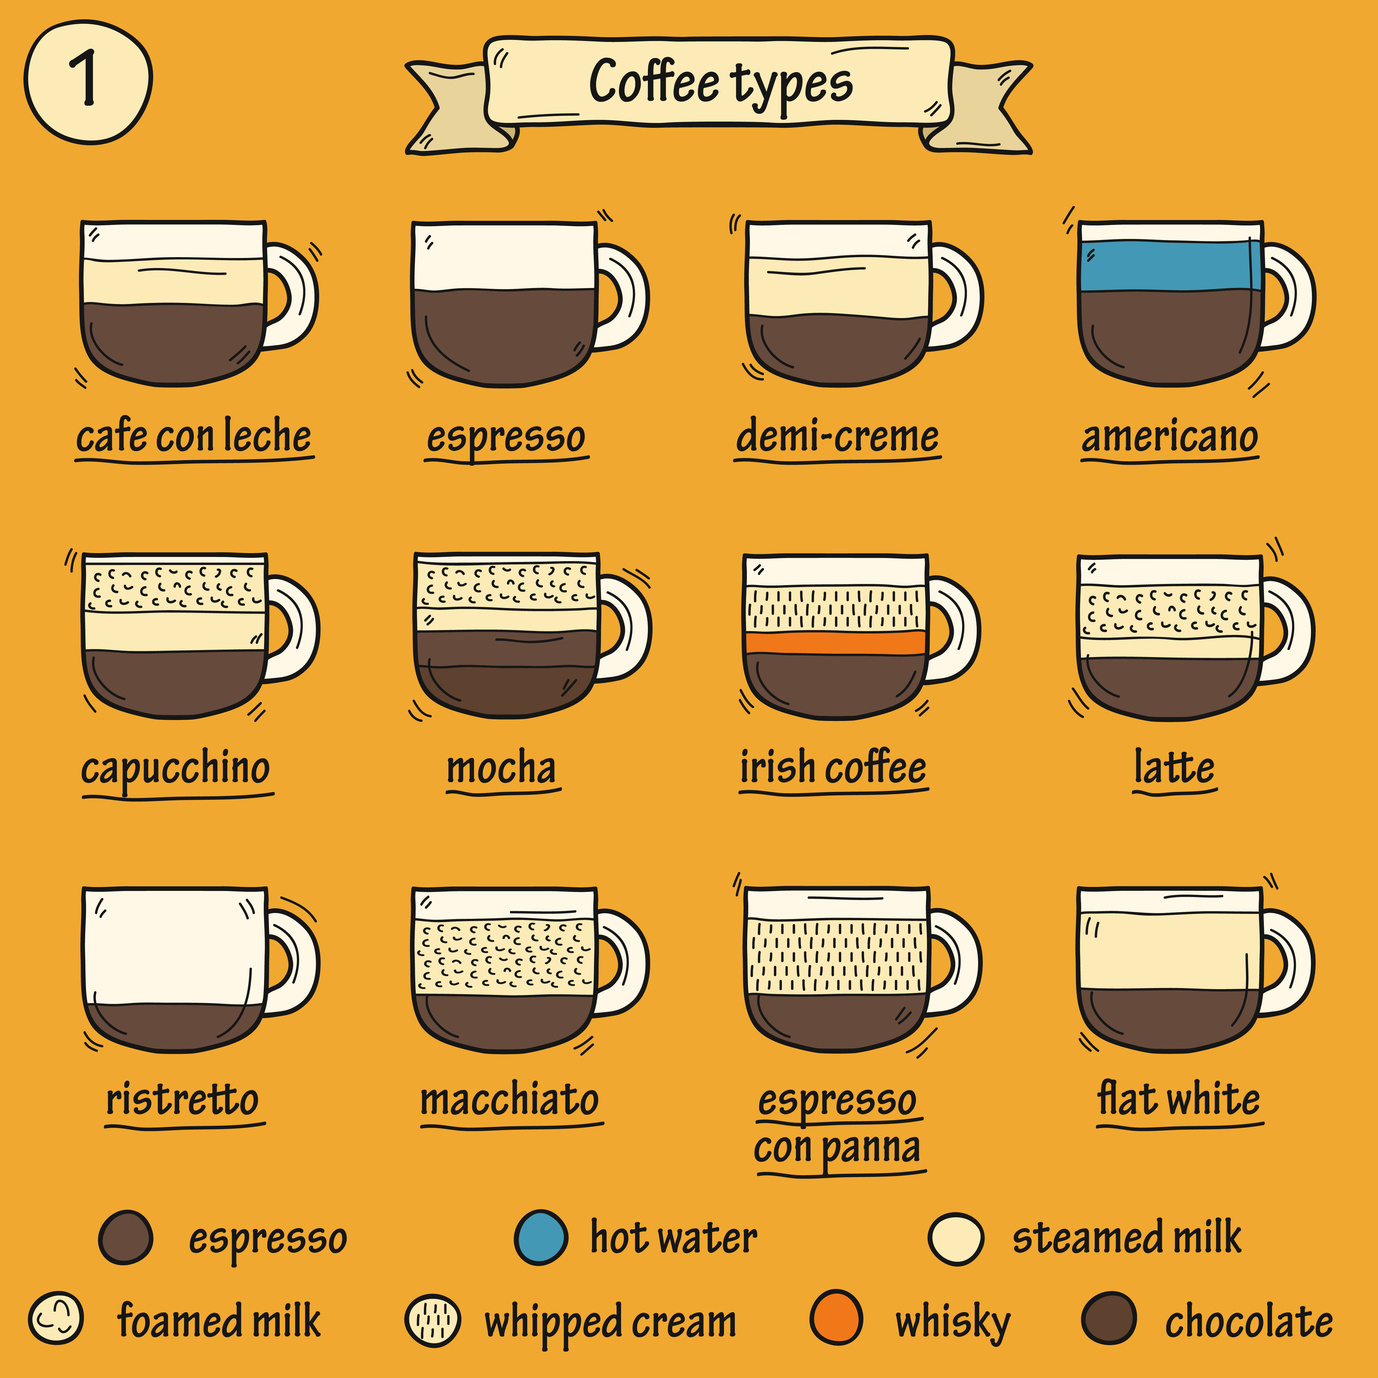
In this task, you’ll combine dictionaries, a list, and a loop. The result is a chart illustrating different types of coffee – that’s, the amount of espresso, hot-water, steamed-milk, and foamed-milk that comprise each type.
Create a new sketch and save it as “coffee_chart”. Add the following setup code:
size(800,800)
background('#004477')

mug = 110
col = 1
row = 1
coffees = [
  'cafe con leche', 'espresso', 'demi-creme',
  'americano', 'capucchino', 'latte',
  'ristretto', 'macchiato', 'flat white'
]

for coffee in coffees:
    x = width/4*col
    y = height/4*row

    # mug
    stroke('#FFFFFF')
    strokeWeight(4)
    noFill()
    arc(x+55,y, 40, 40, -HALF_PI, HALF_PI)
    arc(x+55,y, 65, 65, -HALF_PI, HALF_PI)
    rect(x-mug/2,y-mug/2, mug,mug)

    if col%3 == 0:
        row += 1
        col = 1
    else:
        col += 1
Run the sketch; it renders nine empty mugs.
At this point, the coffees variable is nothing more than a list of names. Replace this with the list of dictionaries below. It’s easiest to copy and paste over the existing coffees list.
...
row = 1
coffees = [
  { 'name':'cafe con leche','espresso':50, 'hotwater':0, 'steamedmilk':30,'foamedmilk':0  },
  { 'name':'espresso',      'espresso':60, 'hotwater':0, 'steamedmilk':0, 'foamedmilk':0  },
  { 'name':'demi-creme',    'espresso':40, 'hotwater':0, 'steamedmilk':40,'foamedmilk':0  },
  { 'name':'americano',     'espresso':60, 'hotwater':30,'steamedmilk':0, 'foamedmilk':0  },
  { 'name':'capucchino',    'espresso':40, 'hotwater':0, 'steamedmilk':30,'foamedmilk':30 },
  { 'name':'latte',         'espresso':35, 'hotwater':0, 'steamedmilk':10,'foamedmilk':30 },
  { 'name':'ristretto',     'espresso':30, 'hotwater':0, 'steamedmilk':0, 'foamedmilk':0  },
  { 'name':'macchiato',     'espresso':40, 'hotwater':0, 'steamedmilk':0, 'foamedmilk':60 },
  { 'name':'flat white',    'espresso':40, 'hotwater':0, 'steamedmilk':60,'foamedmilk':0  }
]
...
The challenge is to fill each mug with the relevant proportions of ingredients. Begin with the labels (beneath each mug). The finished result looks like this:
This code can easily be adapted to include as many coffee types as you desire, each with its own mug. However, the process of having to write and format the coffees data using Python syntax leaves room for improvement. In the next section, you’ll look at how Python can read in data from external files.
5.5: External Data »
Complete list of Processing.py lessons