« 1.2: Colour |
1.4: Variables »
Drawing
In this section, you’ll look at a number of drawing functions.
Begin a new sketch (File > New) and then save it as “drawing” (File > Save As…). Add some code to set things setup before proceeding:
size(500, 500)
background('#004477')
noFill()
stroke('#FFFFFF')
strokeWeight(3)
When you run the sketch, an empty blue display window appears. What follows below are descriptions for several drawing functions, along with some code to add to your working sketch. Feel free to experiment with the arguments to see how things respond. Each example builds on the code before it, so you’ll need to work through all of them, entering each line as you progress.
point()
Draws a point, the width of which is determined by the strokeWeight(). The arguments represent the x- and y-coordinates respectively.
Reference link: point()
point(100, 25)
point(200, 25)
point(150, 75)
triangle()
Draws a triangle. The six arguments represent three x/y-coordinate pairs.
Reference link: triangle()
triangle(100,25, 200,25, 150,75)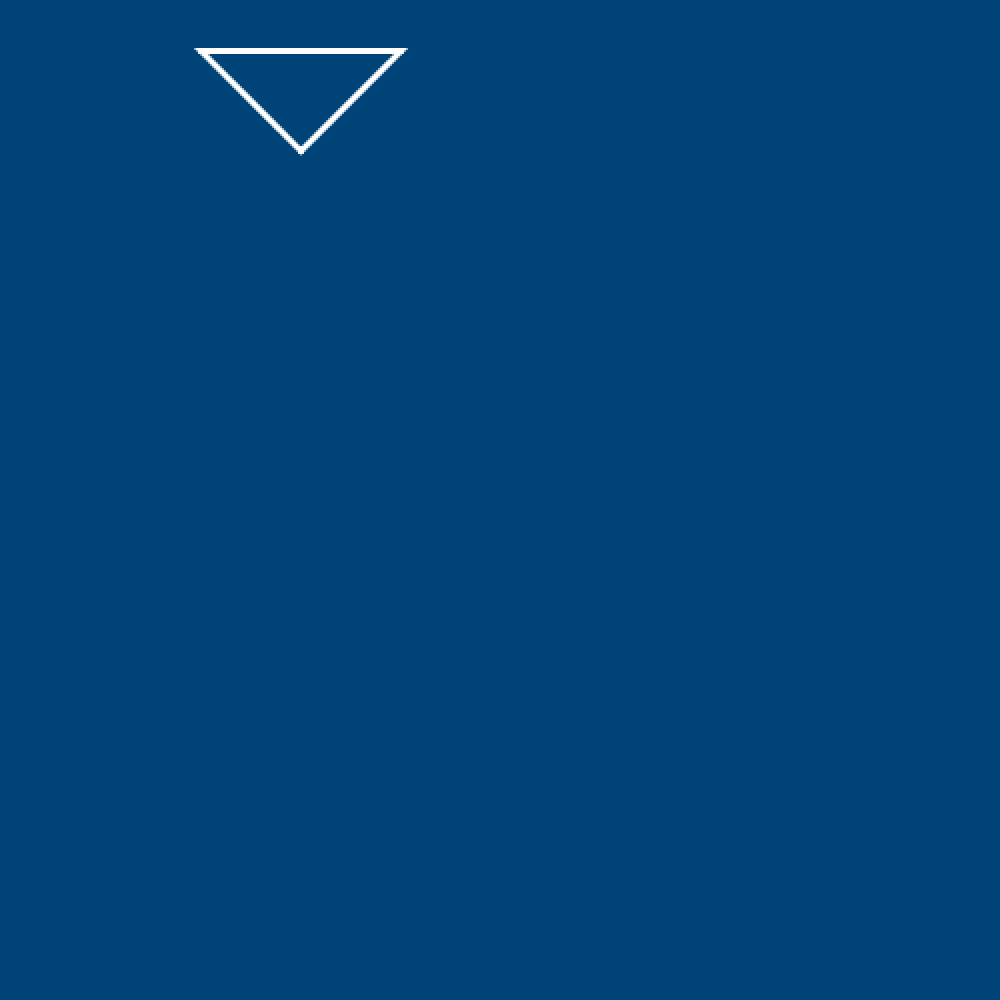
ellipse()
Draws an ellipse. The first pair of arguments represent an x/y coordinate that marks the centre of the ellipse; the second pair of arguments represent its width and height.
Reference link: ellipse()
ellipse(100,100, 100,50)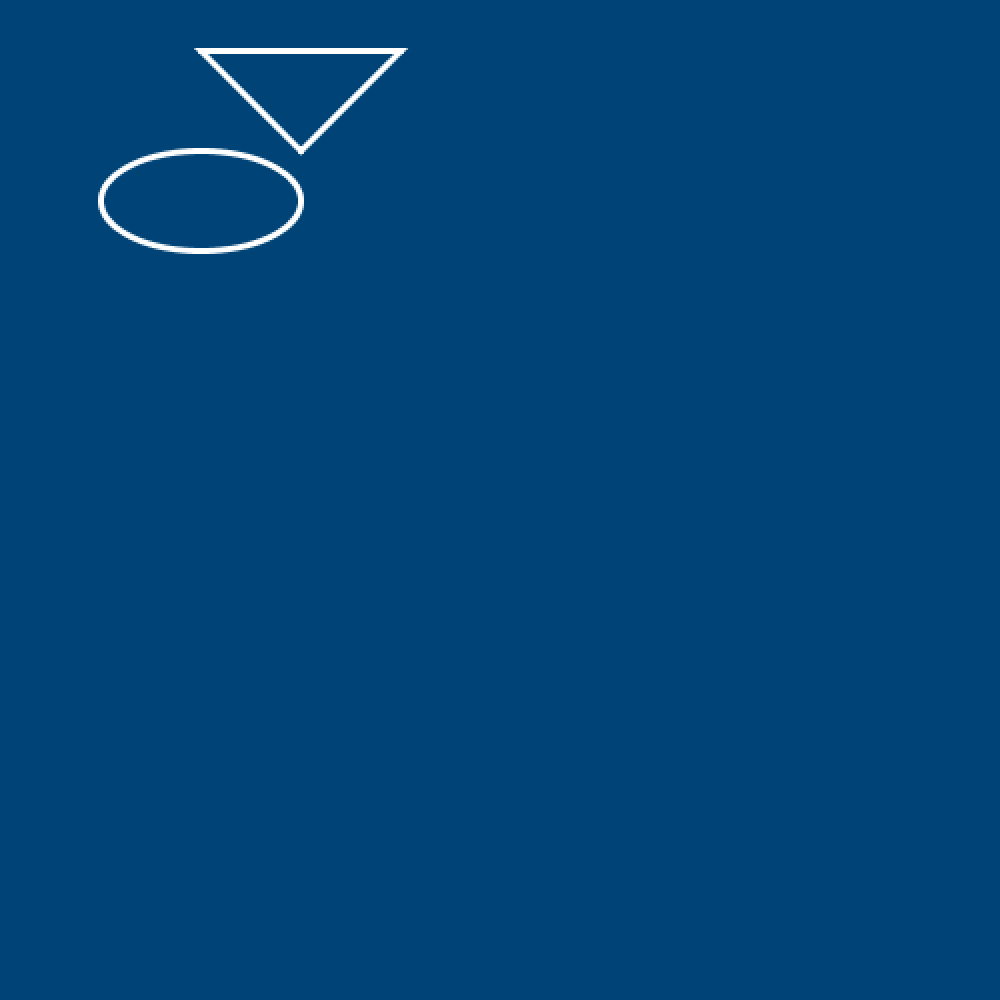
Ellipse and Rect Modes
You’ve seen how rectangles are drawn from the top-left corner, and ellipses are centred on the x/y coordinate. If you wish to change this behaviour – for example, have the rect function draw from the center – refer to the following functions:
ellipseMode()
rectMode()
quad()
Draws a quadrilateral (a four-sided polygon). The eight arguments represent four x/y-coordinate pairs.
Reference link: quad()
quad(250,250, 350,300, 380,400, 260,380)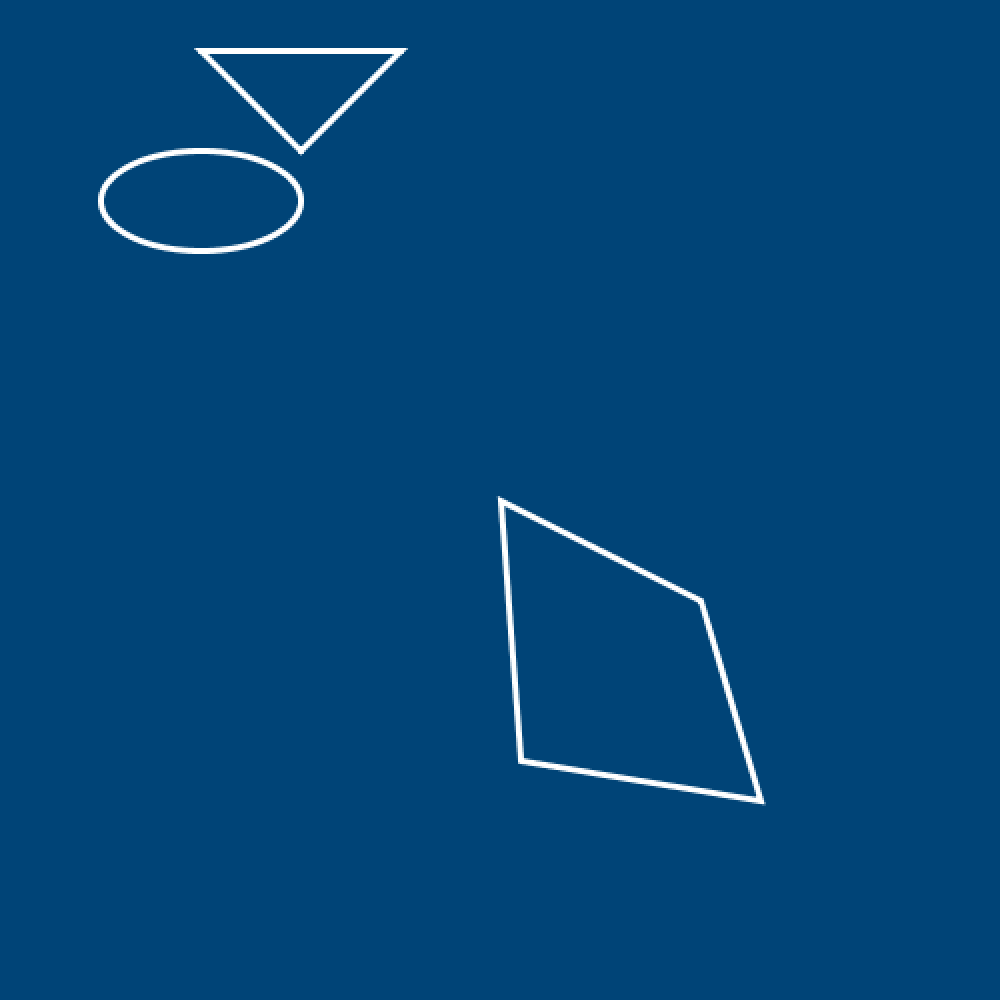
line()
Draws a straight line between two points. The first pair of arguments represent the starting x/y coordinates; and the second pair, the ending x/y coordinates.
Reference link: line()
line(390,380, 460,320)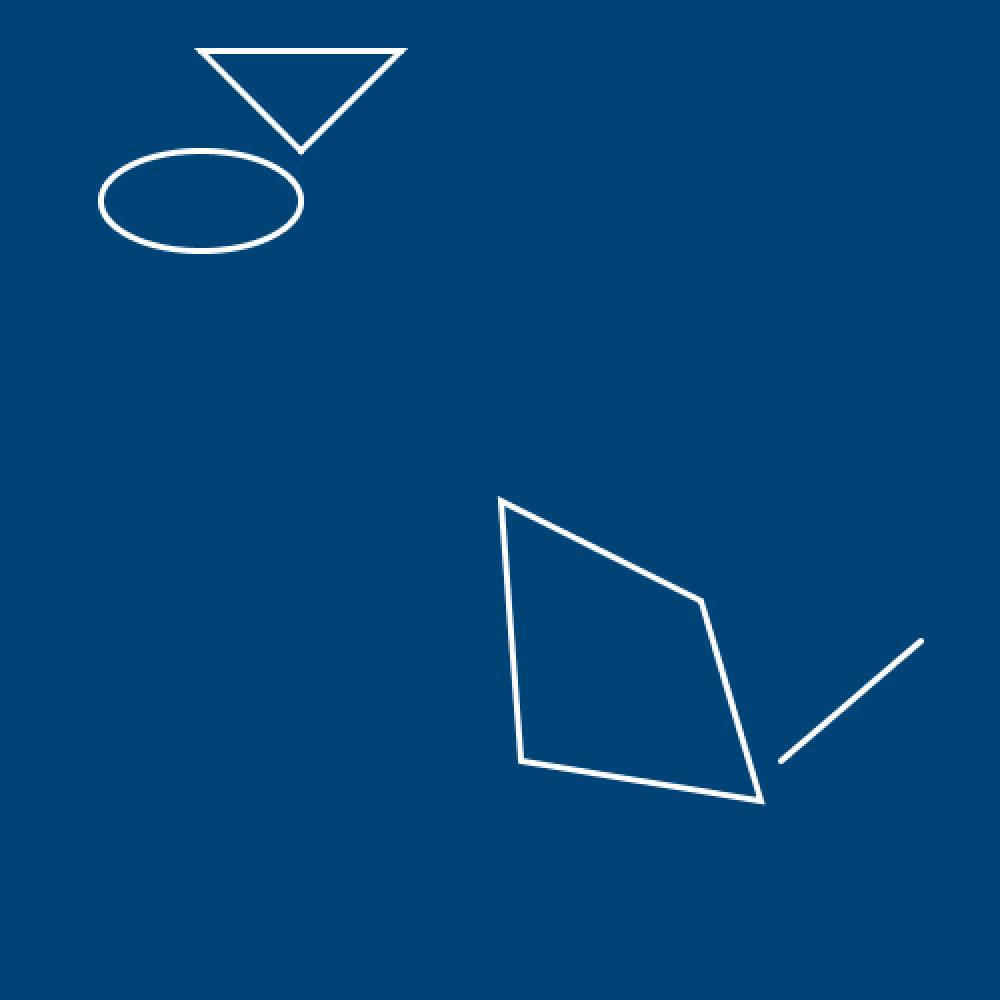
Rainbow Task
Time for a challenge!
Begin a new sketch (File > New) and then save it as “rainbow” (File > Save As…).
Add some code to get started:
size(600, 600)
background('#004477')
noStroke()
Using what you’ve learnt thus far, complete the rainbow below:
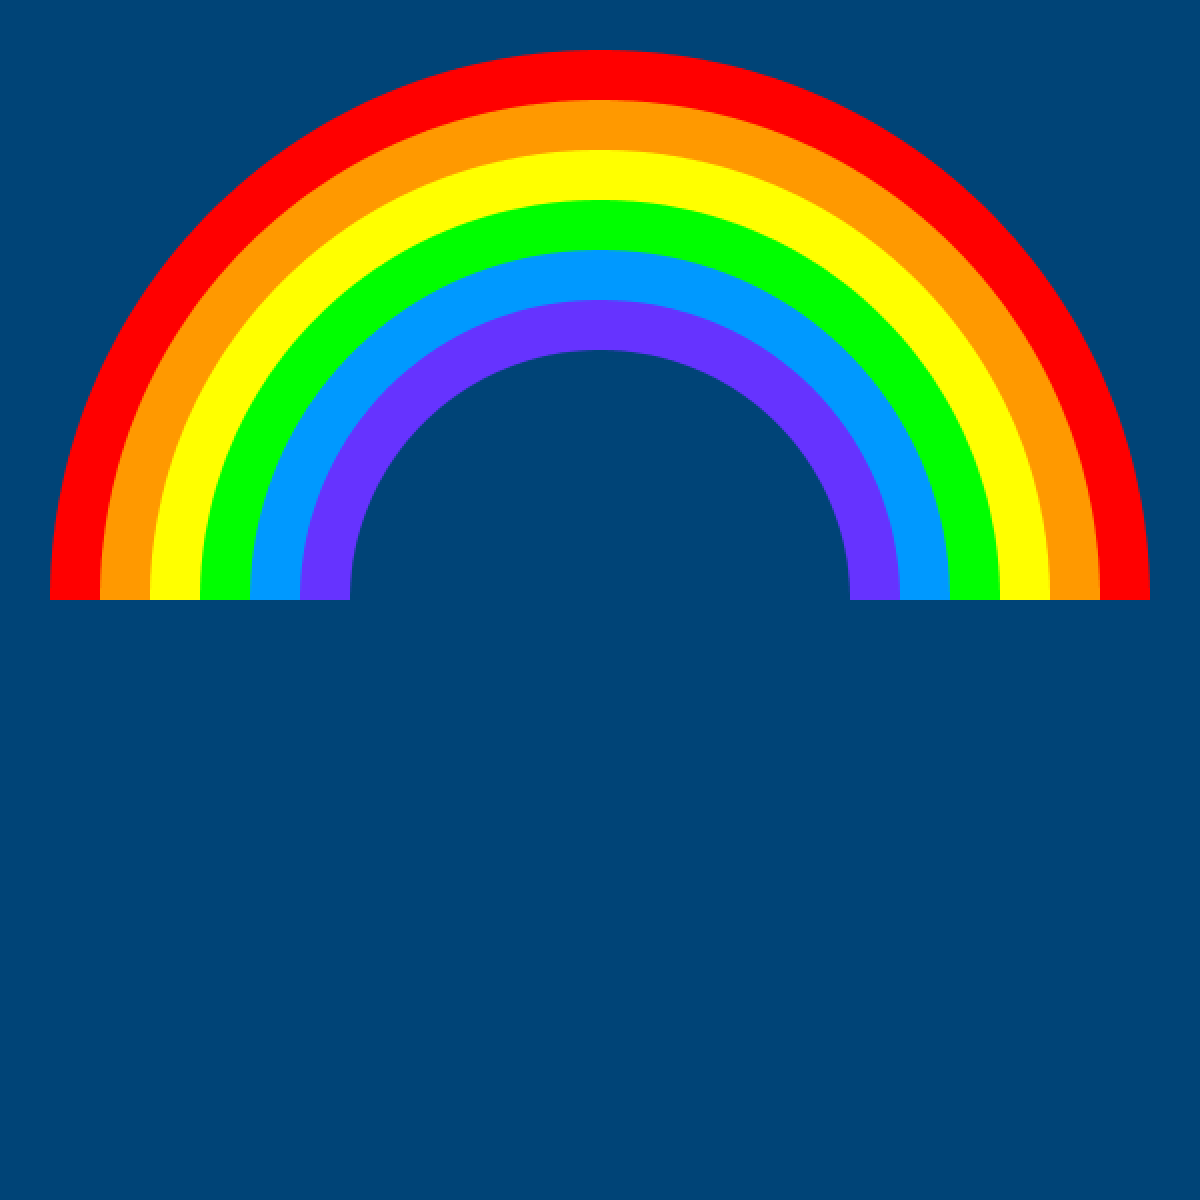
Clue: you can overlap shapes to mask-off others.
1.4: Variables »
Complete list of Processing.py lessons